 Welp, another year of high hopes for regular blog posts has just about passed, C’est la vie. While I have done a poor job of getting any writing done this year, I have acquitted myself fairly well with my instrument building.
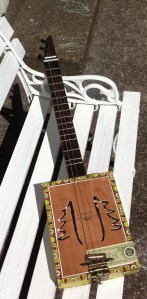
When I last wrote I had just sent off The Ponderosa Pine Tenor, and was working on a bass, a ukulele, a banjo, and a bazouki. The Ukulele was a bust, as the pirate tin proved unstable and inspiration waned. The Banjo is in a similar place, I have the neck built, but inspiration has just moved in a different direction. I suspect something will come around to revive those builds, but for now they are gathering dust on my bench. I would feel bad about not finishing those builds if the other stuff I did this year was less cool.
First, The bass and the Bazooki were finished in early February. I spend a lot of time playing the instruments once I finish them, and I find that it’s a little like spending time with a new friend or with your kids, learning about them, what they do well, their quirks, and how you would change them if you could 🙂 Both the Chinook Bass and the Dog Bowlzouki were a lot of fun to play. I have always wanted a fretless bass, and playing this one was just as fun as I hoped it would be; it tapped into the freedom and fullness of the sound of an upright bass without the hand cramps and inconvenience. The limitation of the 2 stings was fun too, as it forces you to innovate new ways to play. Suz Doyle, who bought it from me, has since been experimenting with the tuning and I wish I had thought to do that more myself while I had it.
Suz also bought the Bowlzouki, which was an instrument I build without ever having played before. I have been interested in playing more traditional Irish music since I started studying the Irish language, and the bazouki is really quite similar to the 3 string CBGs that I have been building over the last few years; it is a bit like the 12 string guitar version of the CBG. Anyway, I couldn’t play that thing enough. That was also my first foray into the world of scarf joint headstocks. It worked really well for that build, but man is it a pain to do. I was really happy with the way the tailpiece and headstock came together on this build too, as both bits are from the same pie server. I was recently told that my grandmother had the exact same server in her personal silverware set.
The Irish theme continued to my next, and easily my most ambitious build to that point: the Easter Rising Centenary Harp. I built the harp for a fundraiser for the Friends of Irish Studies in Idaho, where I studied Irish from 2013 to 2015. I found a couple people who had built similar instruments on Cigarboxnation.com, but there was relatively little information about how they did it. I spent ALOT of time researching how harps work, how the tension of the strings is directed, and how to brace everything so that the instrument would sound good without crushing itself. I used a skinny cigar box for the sound box with an oak center strip, a couple pieces of scrap Alder to build the neck and column, and another strip of oak to connect the neck and column and brace everything. working with the Alder was particularly enjoyable, as it smells like baking bread when you cut it. I used the Easter rising lily symbol to decorate the neck and the sound hole, and also engraved little bits of copper plate with the dates 1916 and 2016 to cover the joint between the neck and column. Finally, I made a stand for the harp out of more leftover Alder and engraved the shape of Ireland into it and used india ink to write in the names each of the ancient provinces on it, “The 5 Provinces of Ireland” below it, and “Ar scáth a chéile mhaireann na daoine” (trans- “people live upon each other’s shadow”: we all depend on one another) on the neck. It was a bit tricky to navigate all of the political implications of the symbols, and I am really grateful to Síne Nic an Ailí for helping me get the language and the message right. Sometimes I still can’t believe this worked.
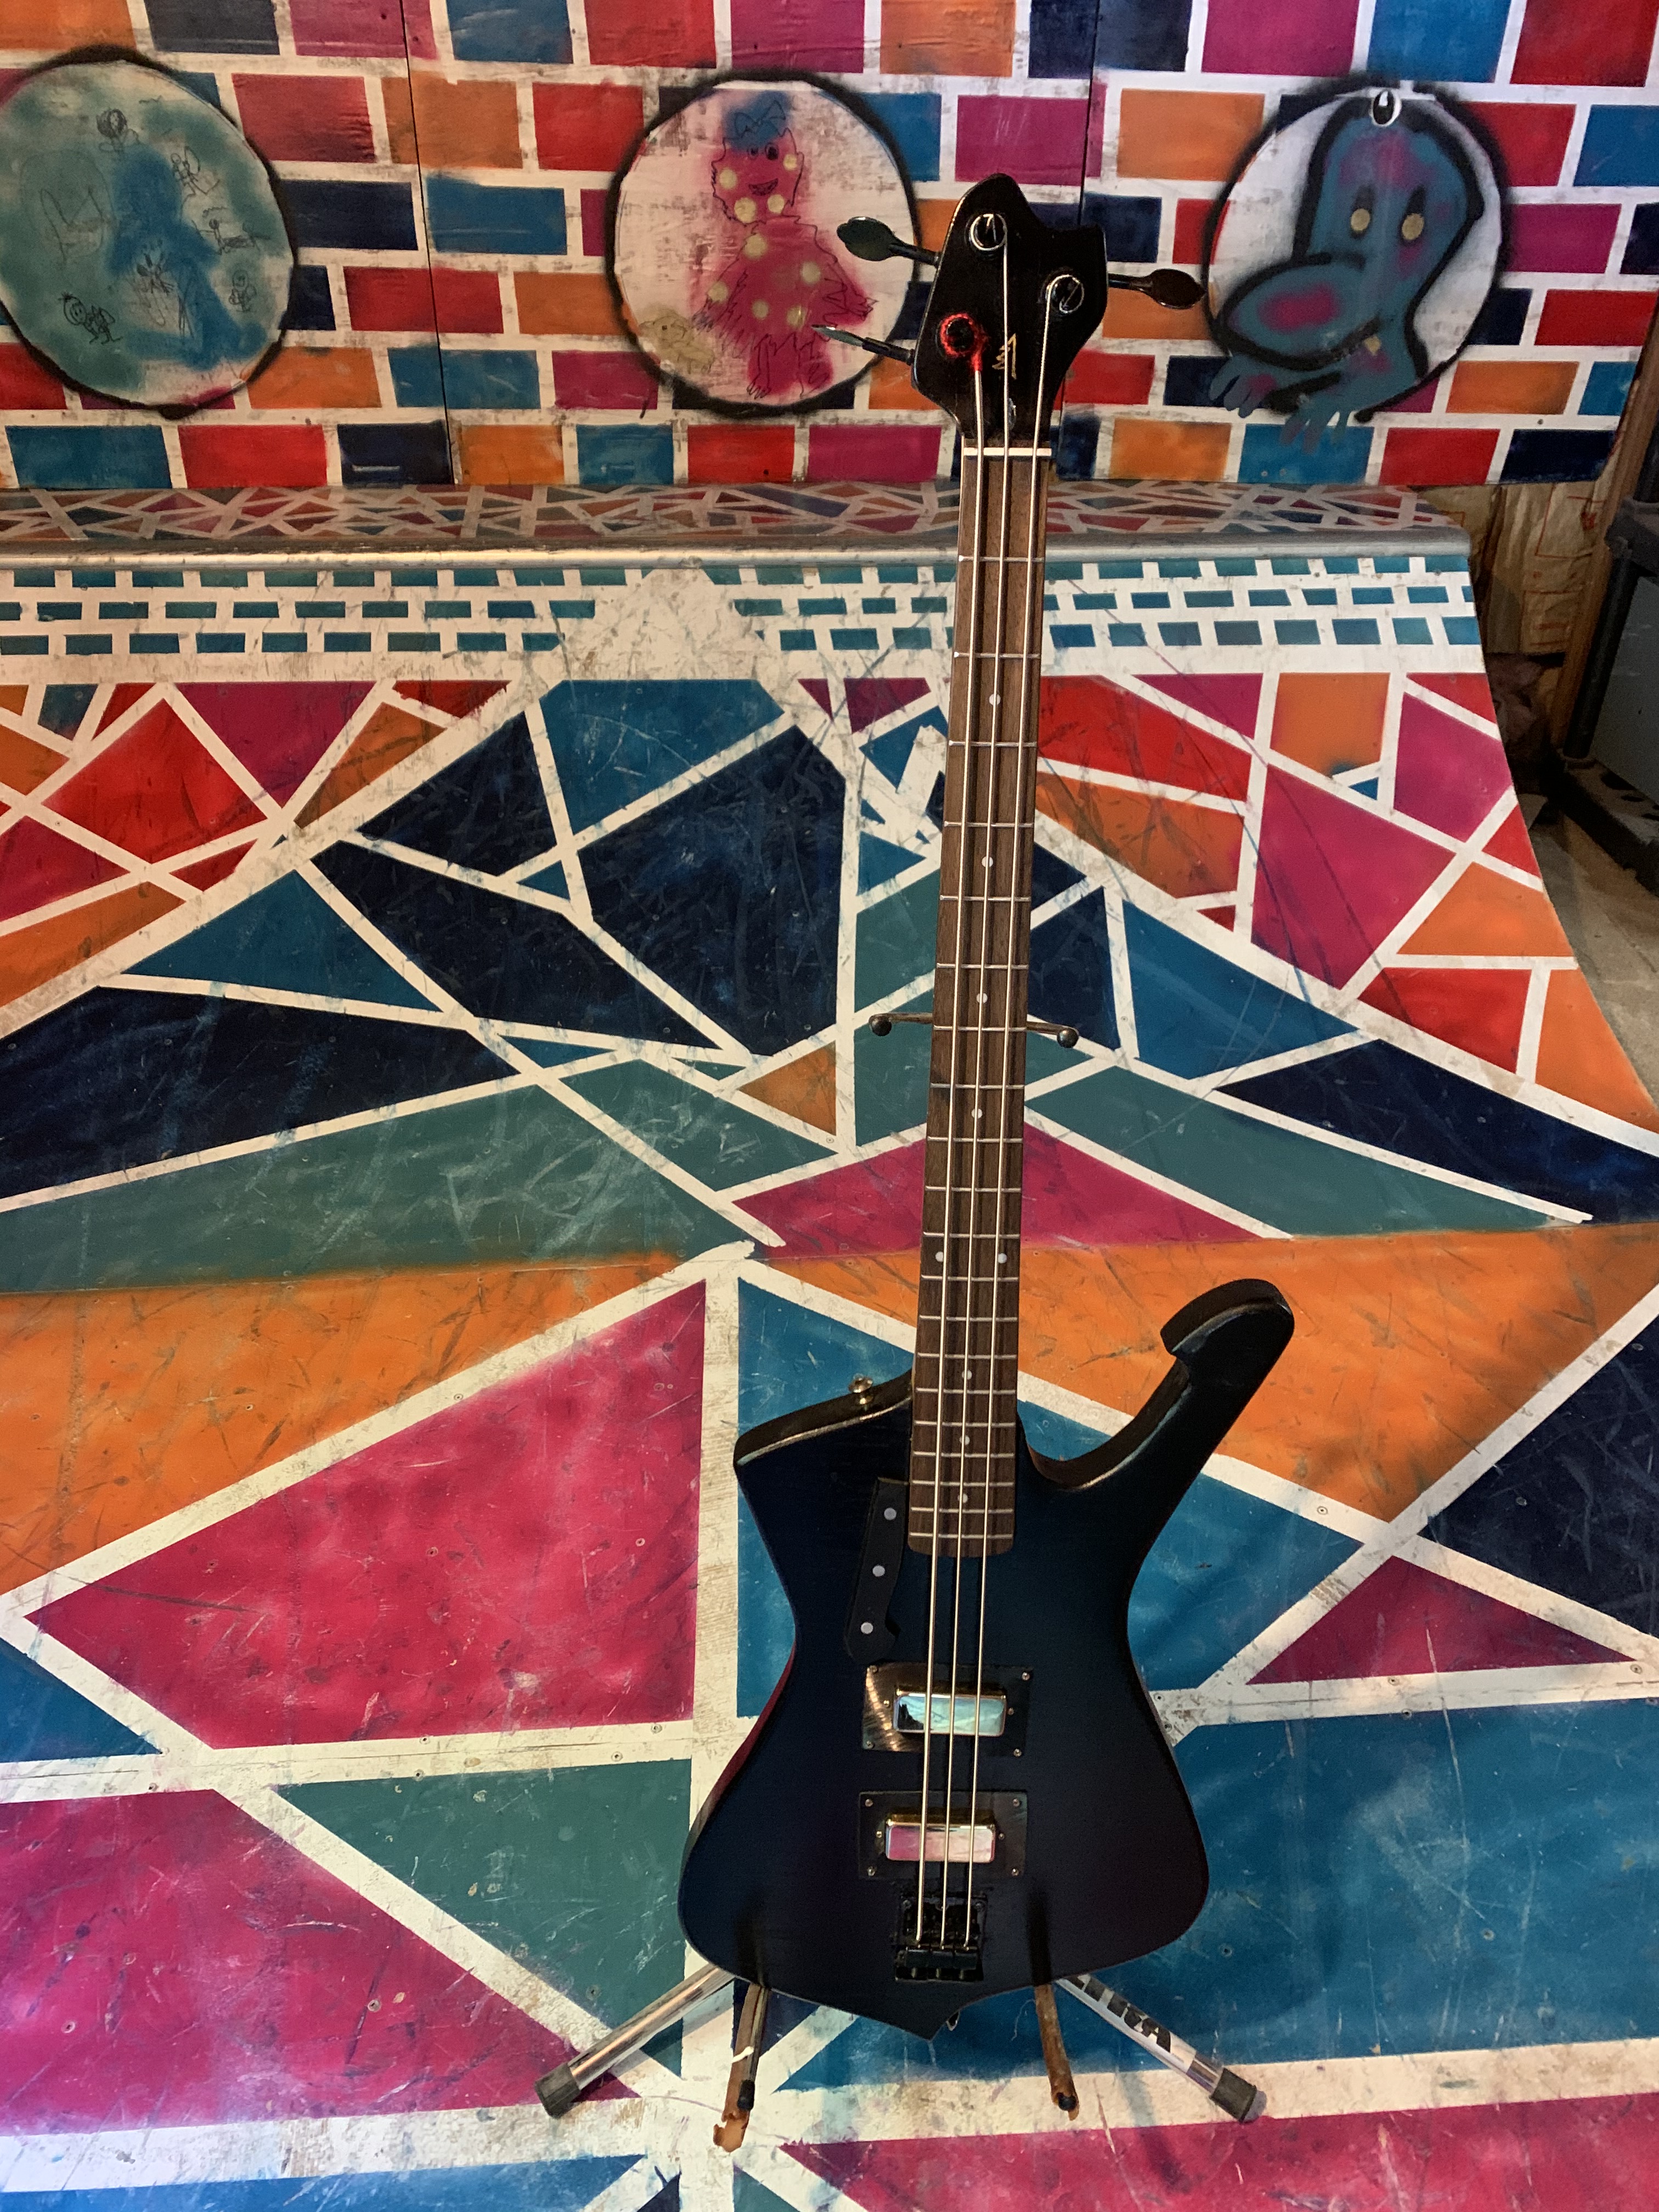
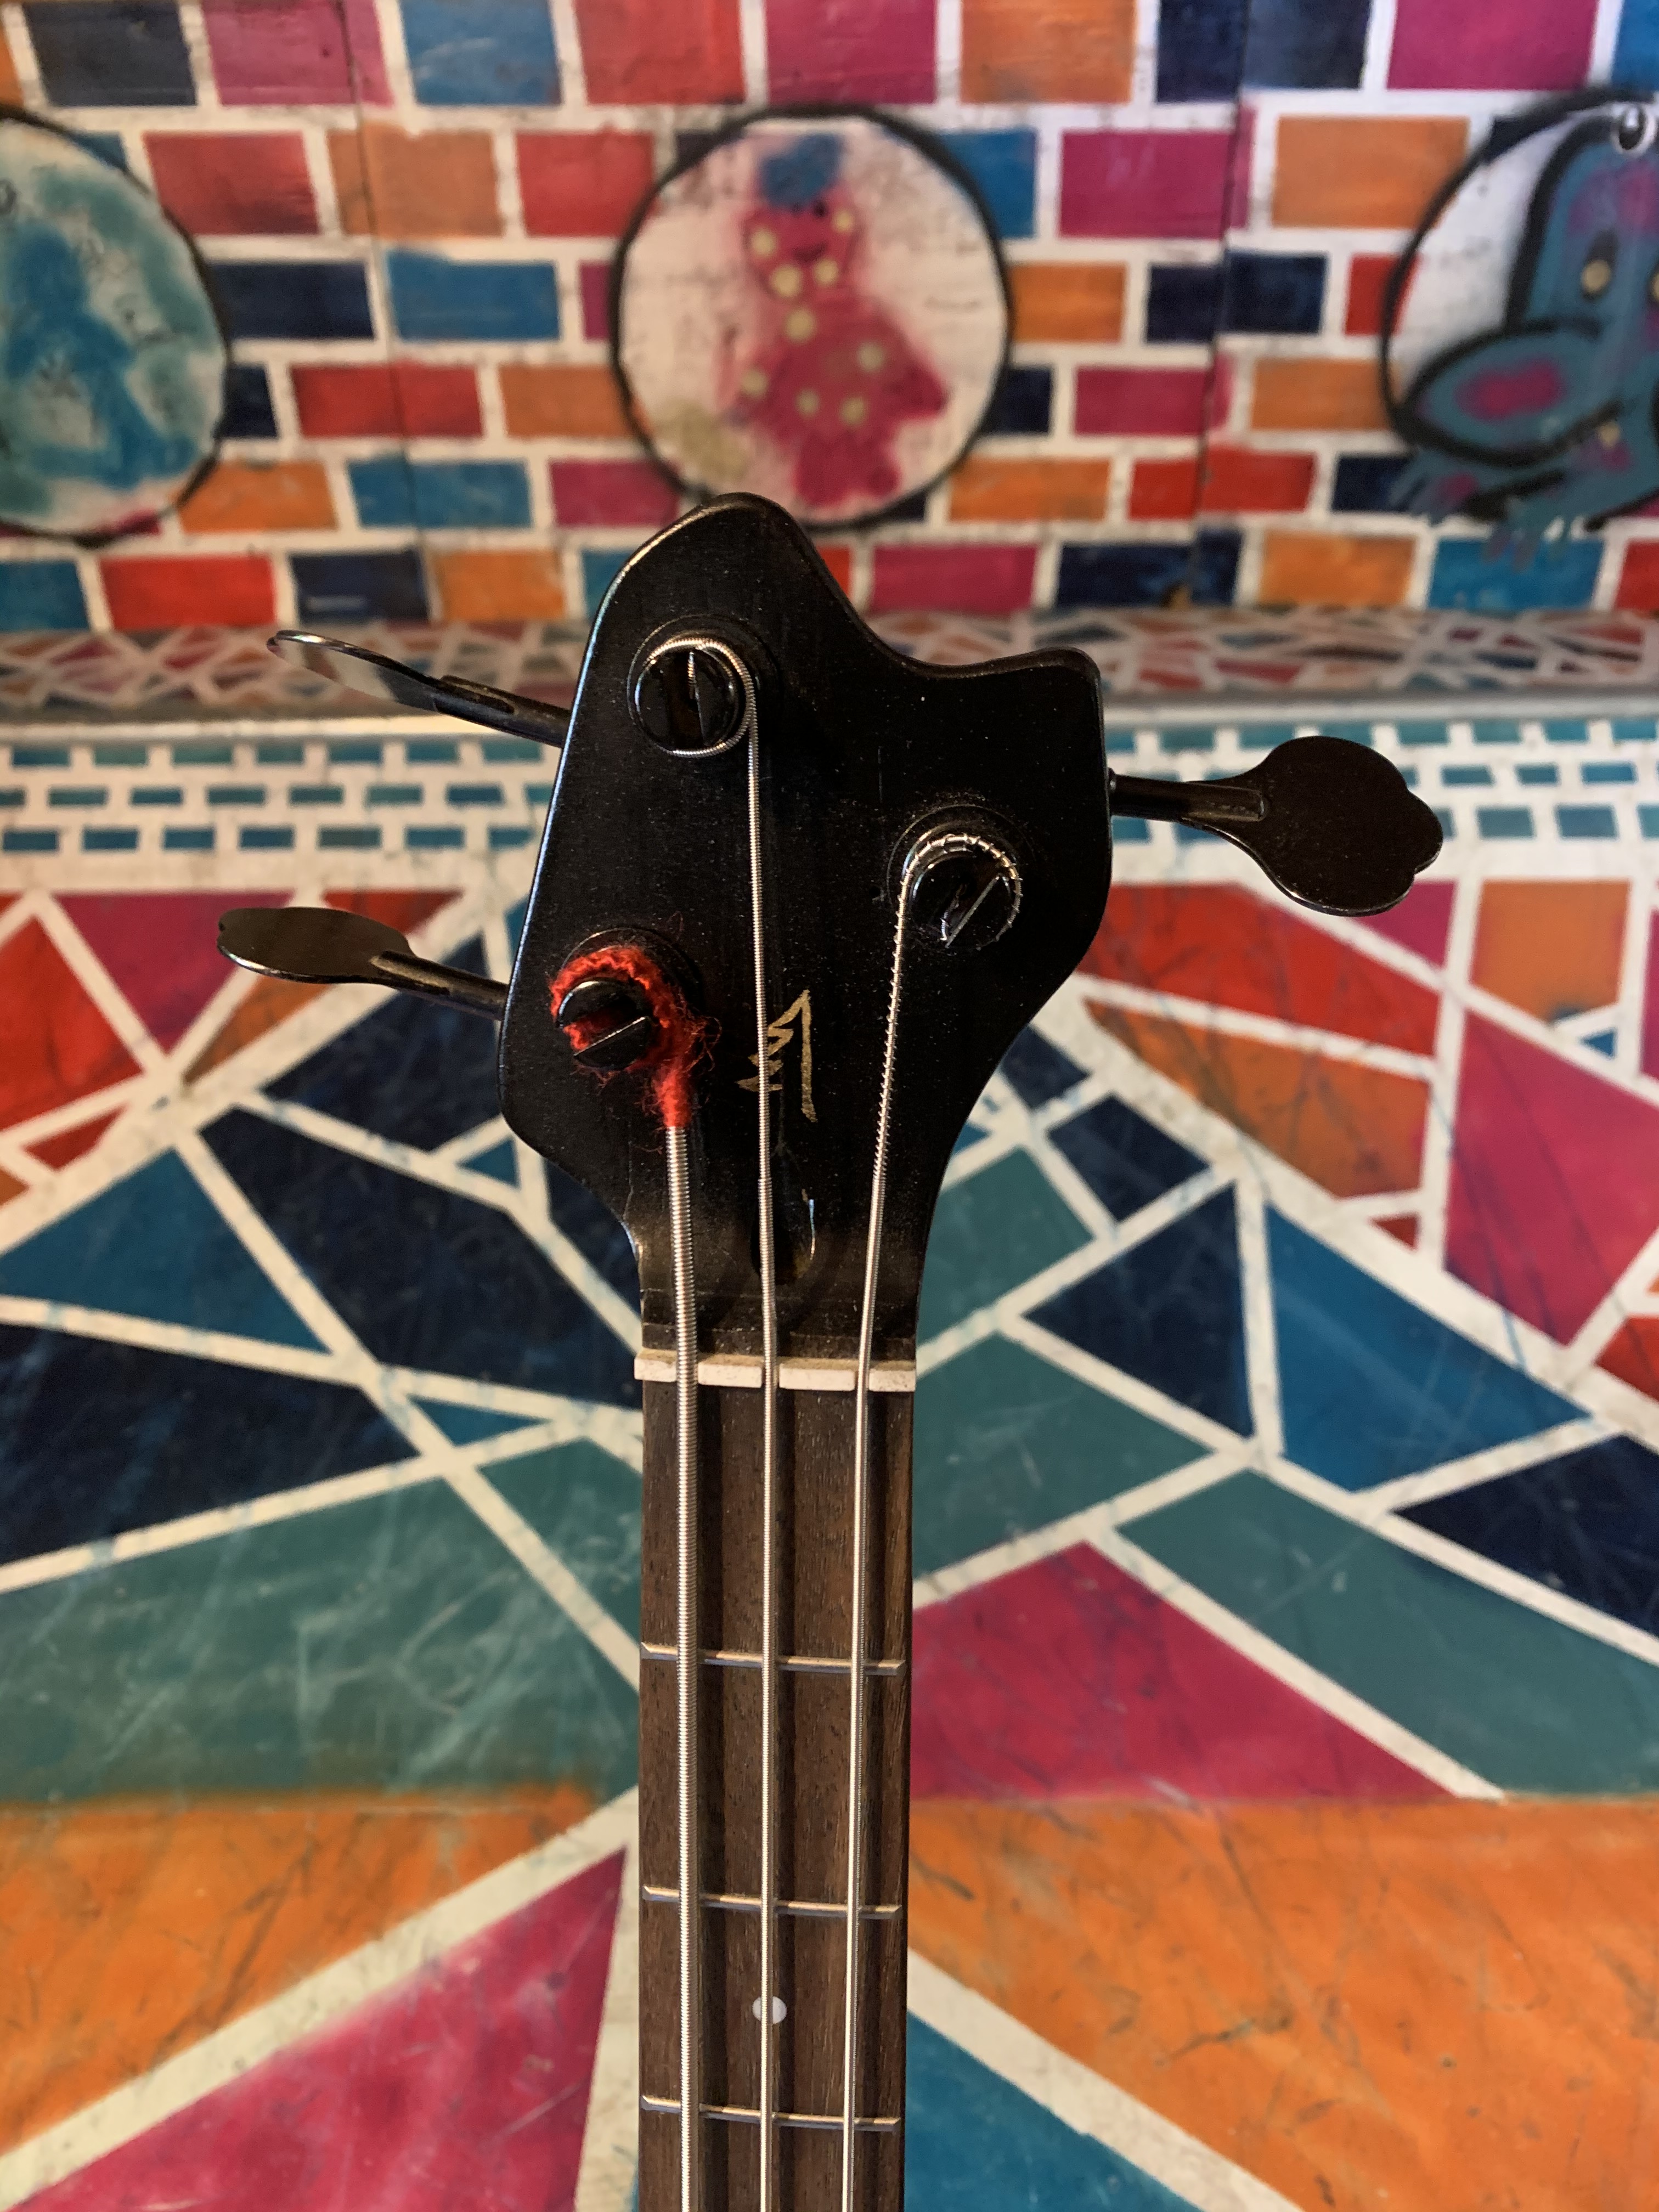
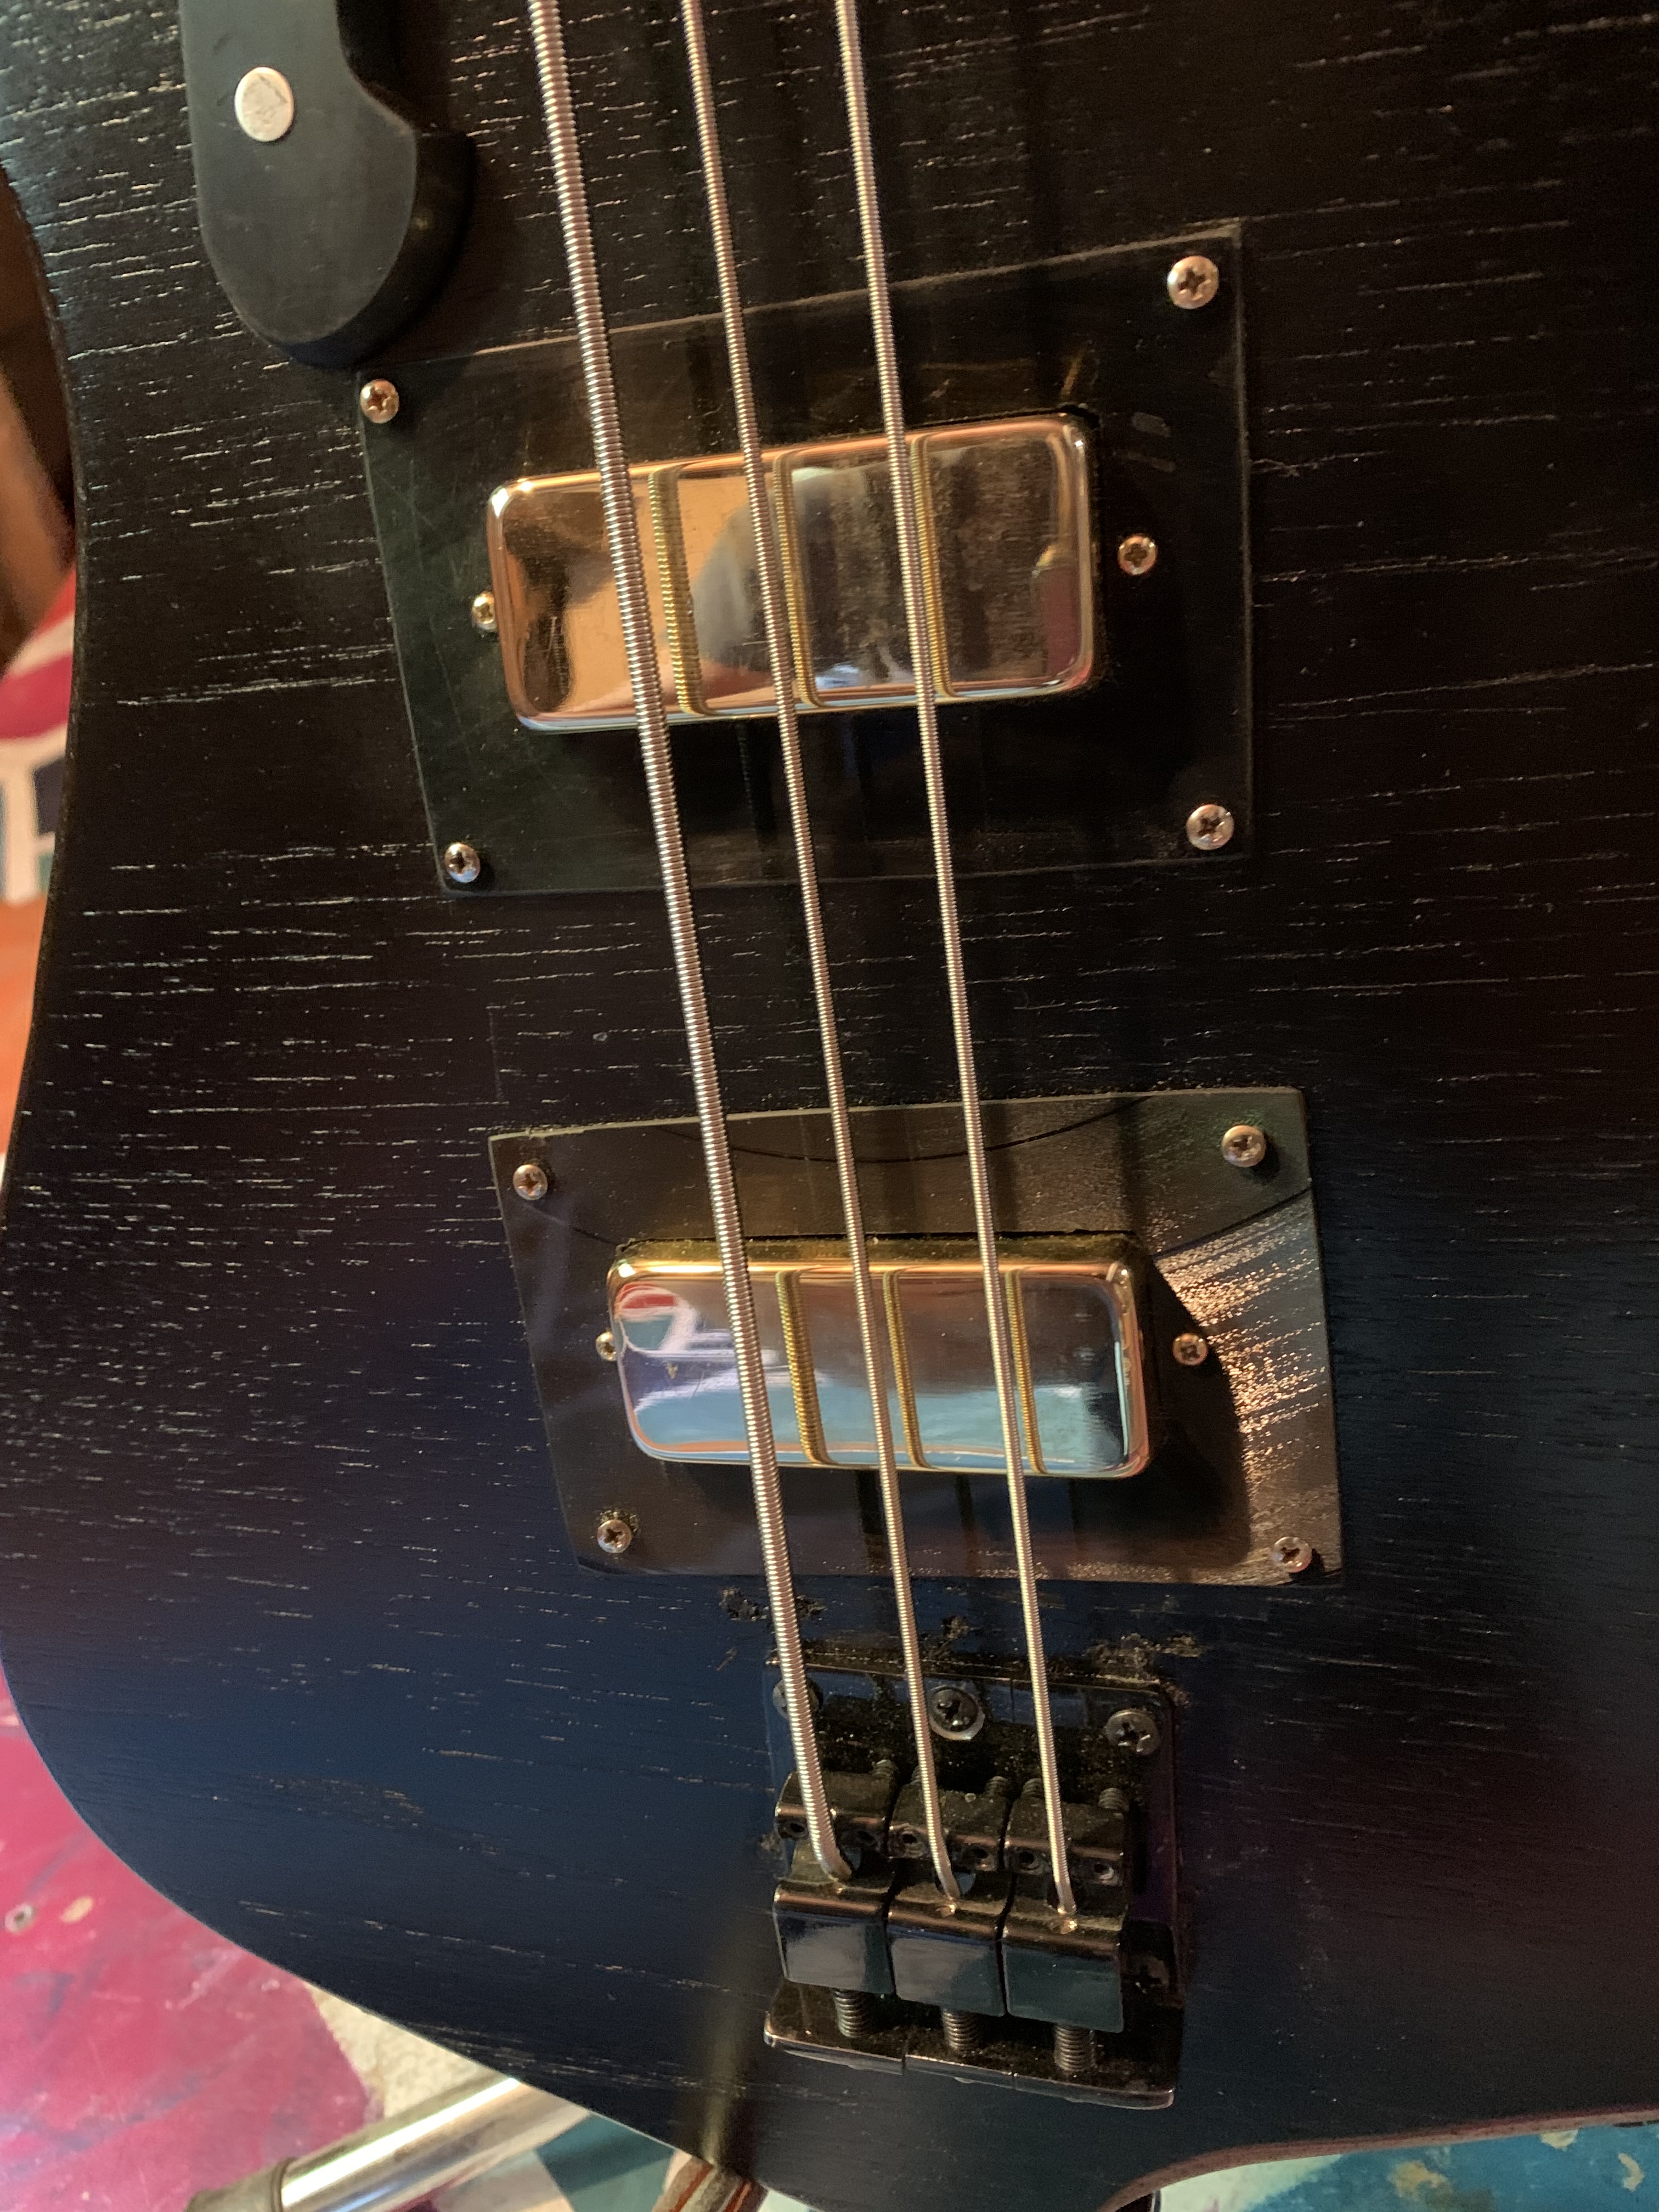
After the harp, we moved to a new home and I got a new garage to work in. I decided to break it in properly by building an upright bass using entirely reclaimed materials. I purchased an OLD suitcase, a set of waterskis, and a spatula wish from a local thrift shop and got to planning. I decided to rip a waterski into three long strips and then laminate those strips together to make the neck. I had thought that the ski was a hardwood, but I am fairly certain just cedar, which made all the cutting and hand planing a lot easier than it might have been. I discovered a tiny old black and white photo of a woman in the suitcase, which was as delightful as it was enigmatic. I used the tip of the ski cut in half to form the headstock and, in another daring choice, decided to use quick releases from bicycle seats as the tuning pegs. Although I had to play with the organization of the machines on the headstock as they relate to the strings because of the size of the quick release nuts, the quick releases work rather well and are fun to look at too. The risk/spatula works as the tailpiece, and the bridge is made from a cabinet handle. The saddle and nut are made from what I was told is petrified mammoth tusk, which I was given by a member of the Vacuum Tube Collective. The Piezo Pickup and Pre amp are the only things in the build that were purchased new, even the strings are weed-trimmer line. The bass is quiet when played acoustically, but I believe that instrument grade strings would likely make a significant difference there. I had hoped to use a small camera tripod for the endpin, but that has proven to be unruly, heavy, and misleading in its ability to hold the bass by itself, so I am switching to a small table leg. I don’t know if there is any market for this sort of instrument, but I am really happy I made it and with how well it turned out.
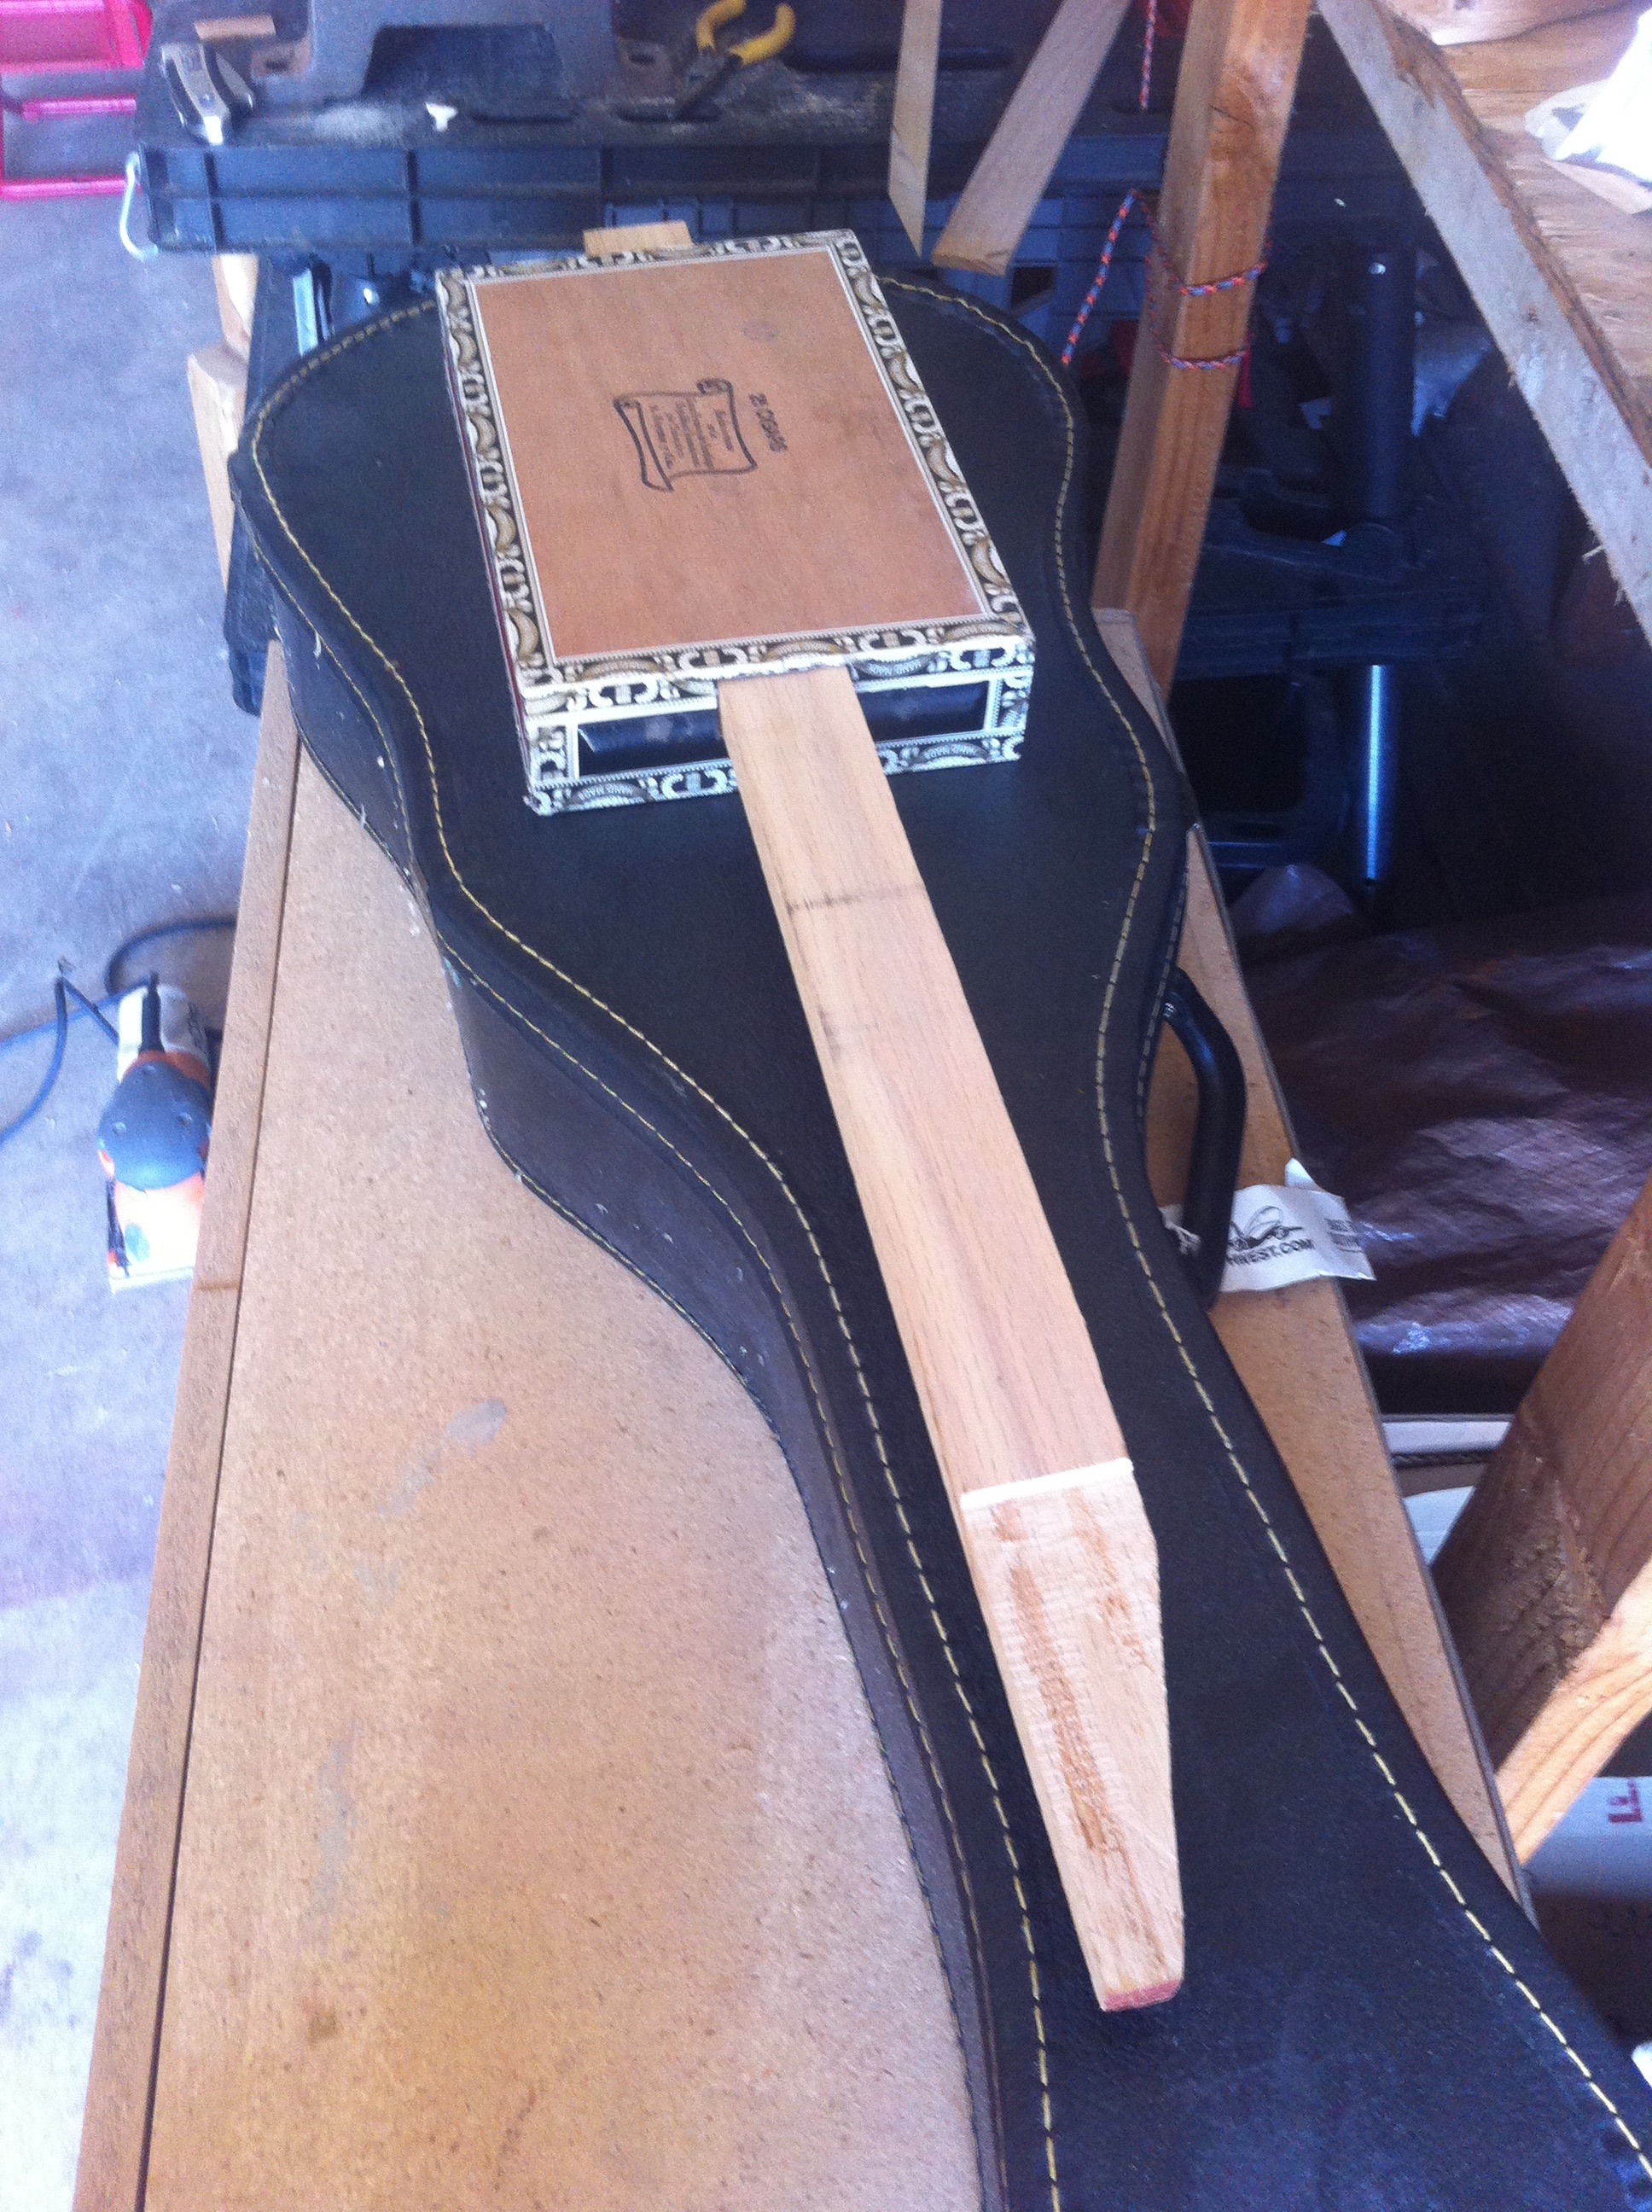
 While the bass took several months to complete, the Oregon Centennial Wine Box Resonator took just a couple of weekends. I bought the decorative Oregon plate in Idaho a couple of years ago because it was interesting and had a nice ring when struck, but I never had a box big enough to use it in. Finally, I found this Robert Mondavi box at a thrift shop here in Oregon. The neck came from a guitar I was given by another Vacuum Tube Collective comrade. According to him, the guitar belonged to his daughter-in-law, apparently her father smashed the guitar in an angry fit, and she had no more use for it. I felt bad tearing the body of the guitar apart to get at the neck, but the body was far beyond my skill to save. Probably the most difficult part of this build was deciding what to do about the incredibly stereo-typical image of a First Peoples “brave”, complete with loin cloth, single feather, hooked nose, and actively making smoke signals. The image conveniently lands in exactly the spot where the bridge goes, so it is mostly covered, but even that raises questions for me like, “is it ok to just cover up the only image of a person of color in all of Oregon?” and “what about the two cartoon white people?” So, I have decided that when the guitar sells I will send 50% of the money to Standing Rock. #NODAPL
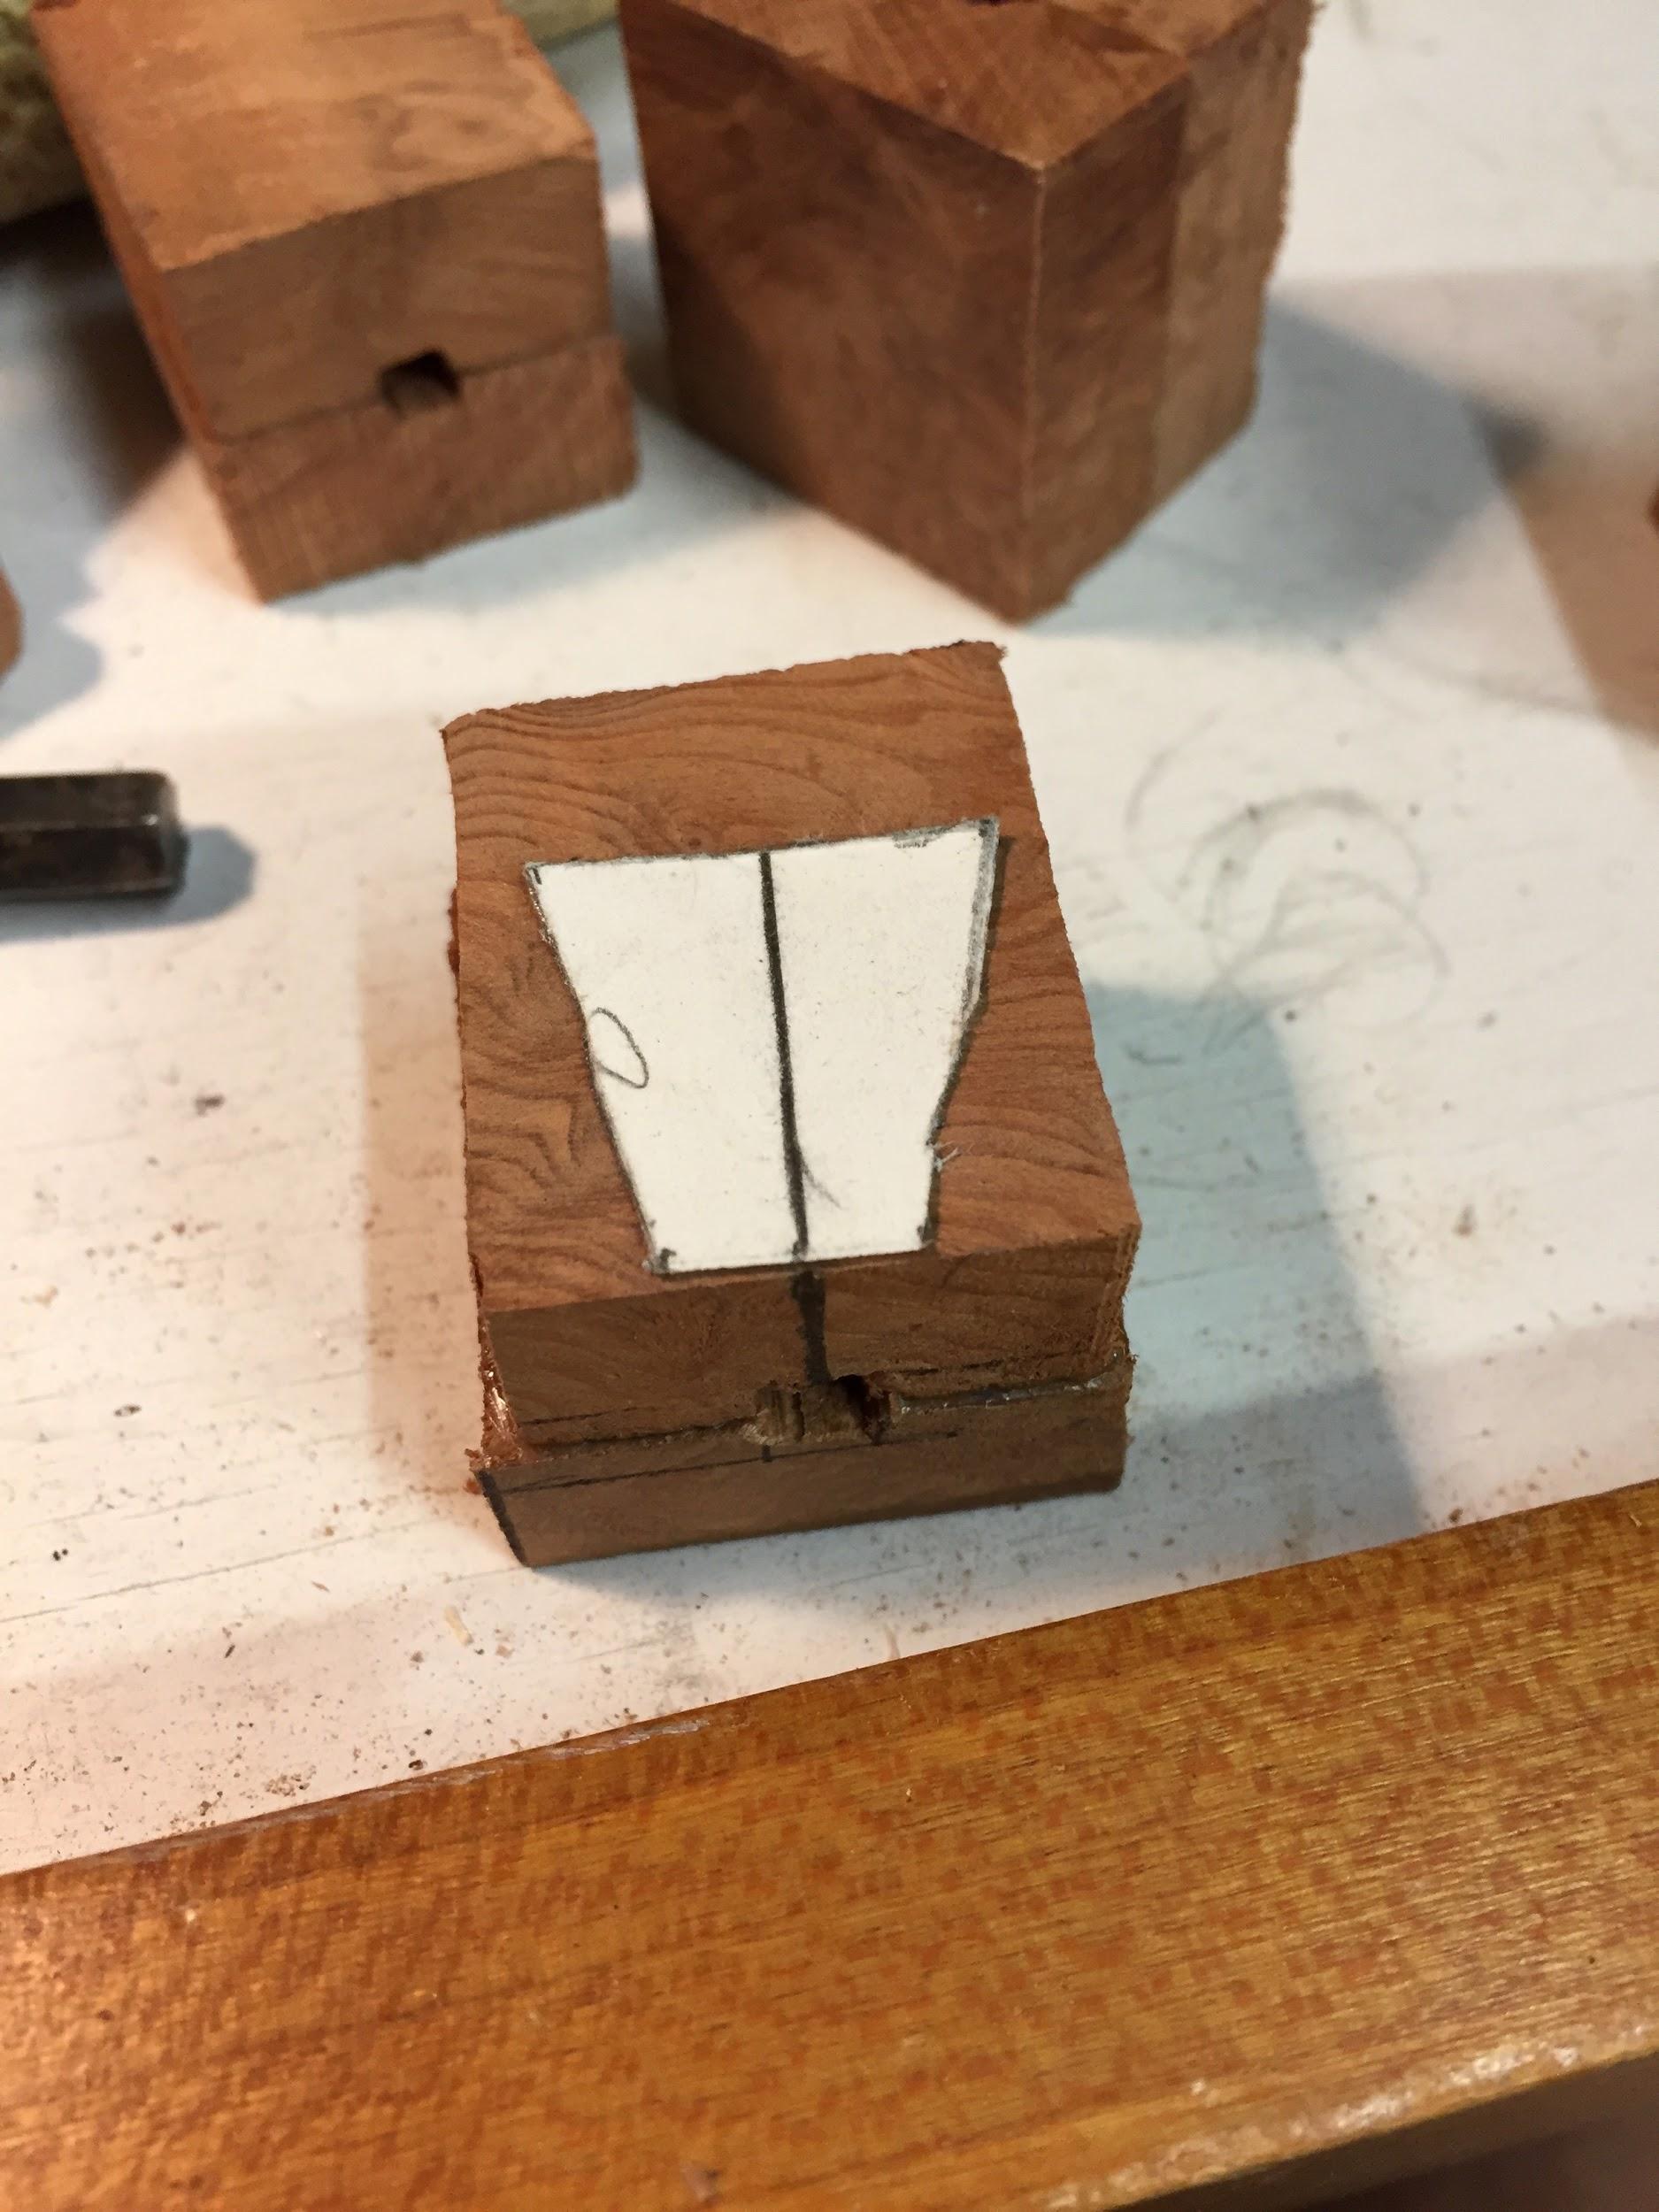
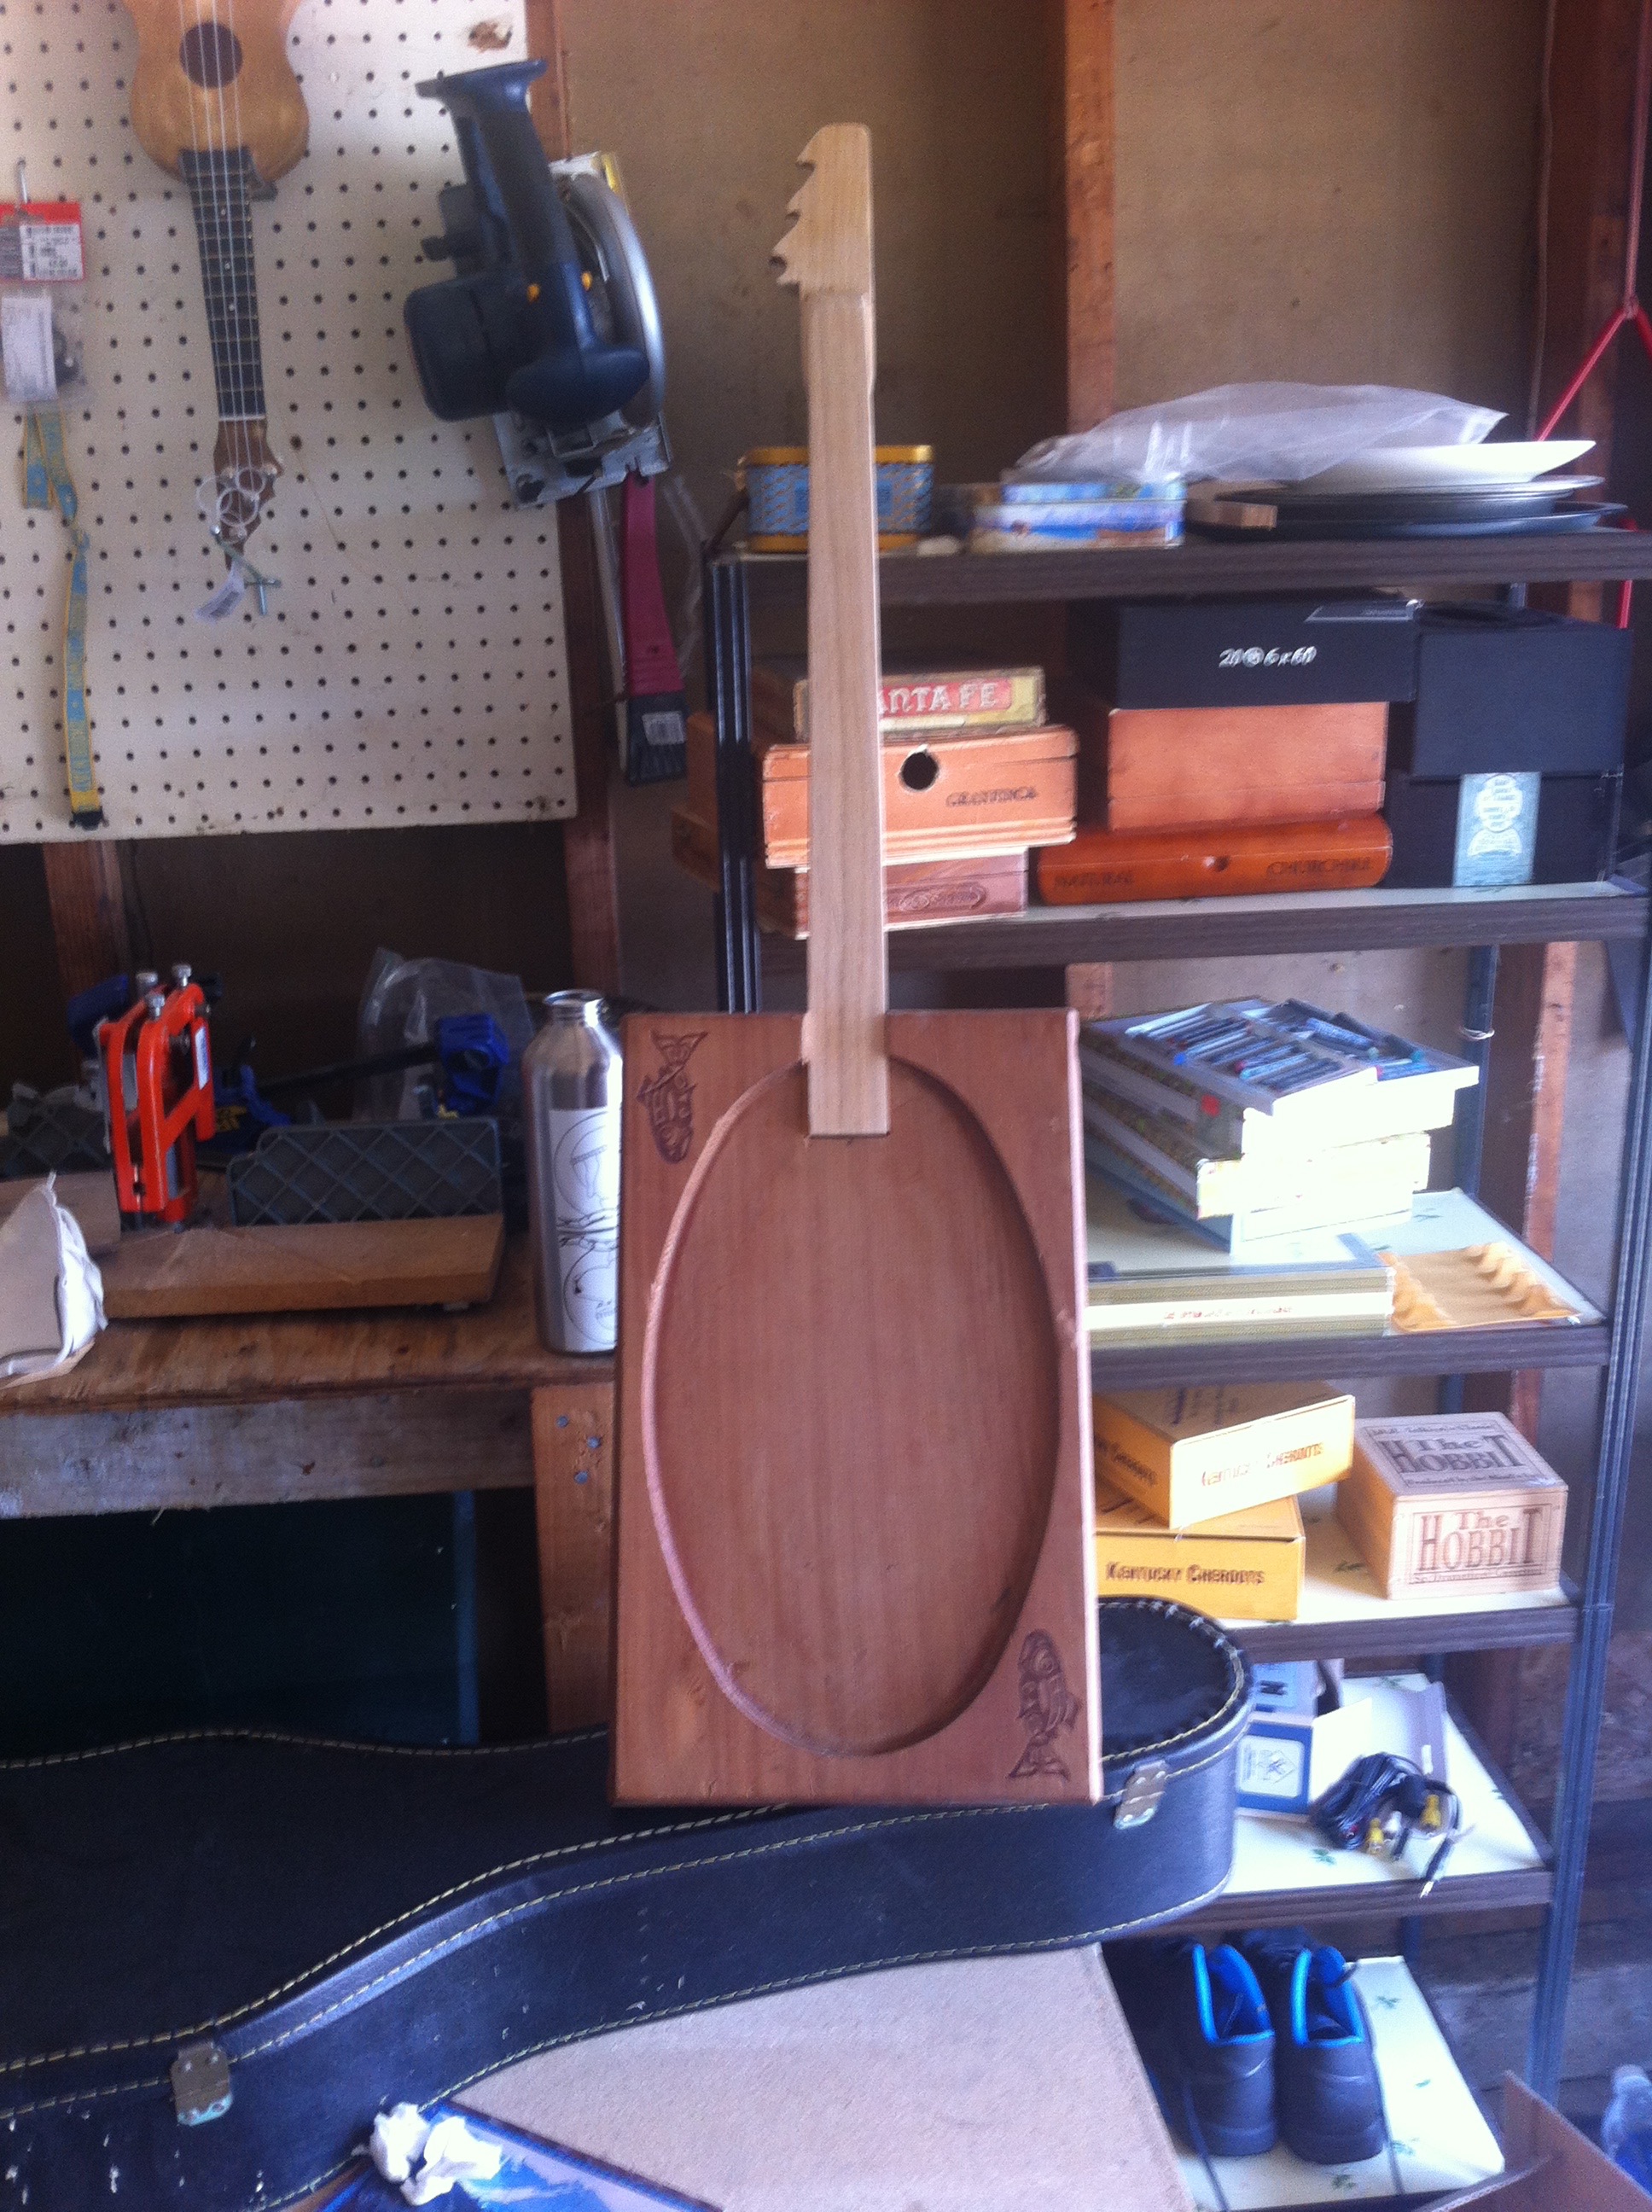
Next, I had the great pleasure of building a guitar for one of my best friends and brother-in-law, Cameron. Cameron has been a huge help to me as I have tried to make 4ist guitars a semi-viable thing, so I was really excited to get to give him something back. This was a surprise for him too, and he has never played guitar before. In fact, this was to be the first musical instrument he ever owned. This is exactly the sort of build I get really excited about, because the entire time I am thinking about how this will be the guitar that will shape the way he thinks about his ability to make music, the one he will play his first song on, the one that will either be a source of solace and joy or aggravation and self-doubt (and likely a little of all of those things). I used a box from our hometown candy shop which has an image the town’s ever present elk on it. I fretted it diatonically (like an Appalachian dulcimer) because I think that makes the instrument more approachable and helps train your ear (in my opinion, anyway). Cameron is left handed, so this was my first time building a left handed guitar. I had to really pay attention to what I was doing to make sure all the holes and components went in the right places, so it was a lot of good brain exercise. I have been sitting on these sound hole covers (drawer handles again) for a long time, so It was nice to finally use them. Since Cam got the guitar, I have been sending him occasional notes and videos on how to play, and it has been so fun to work with him as he learns.
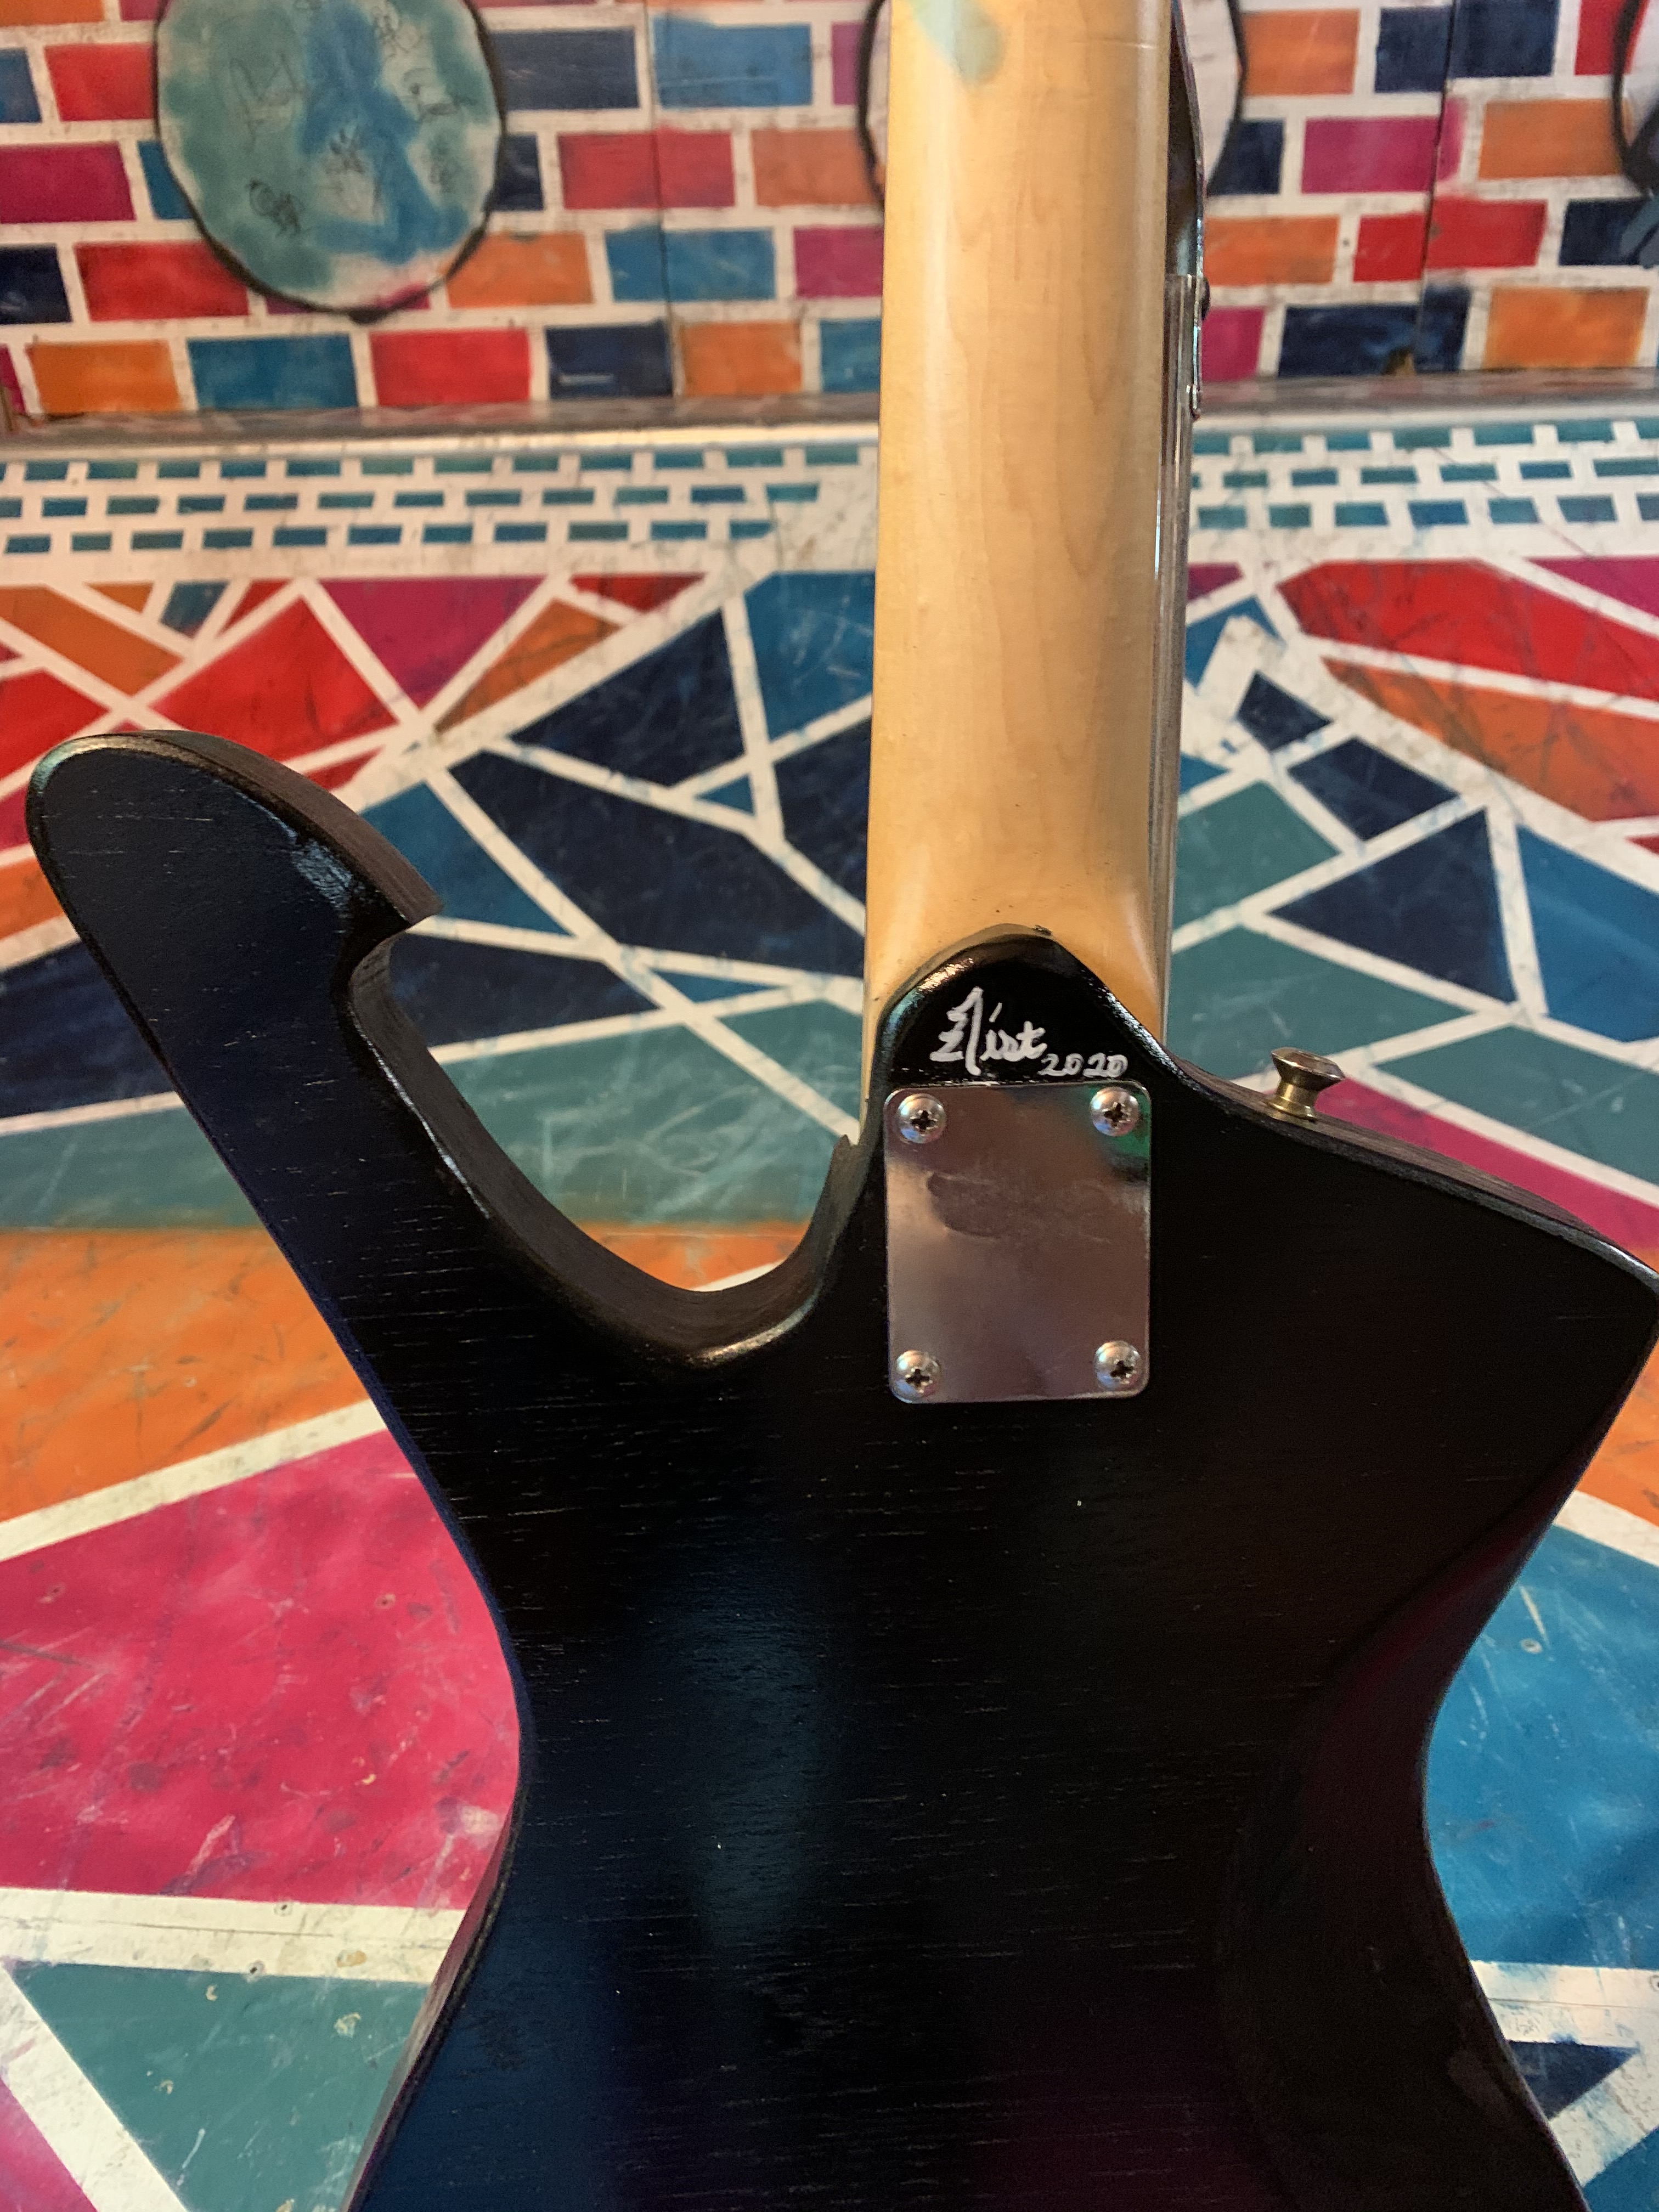
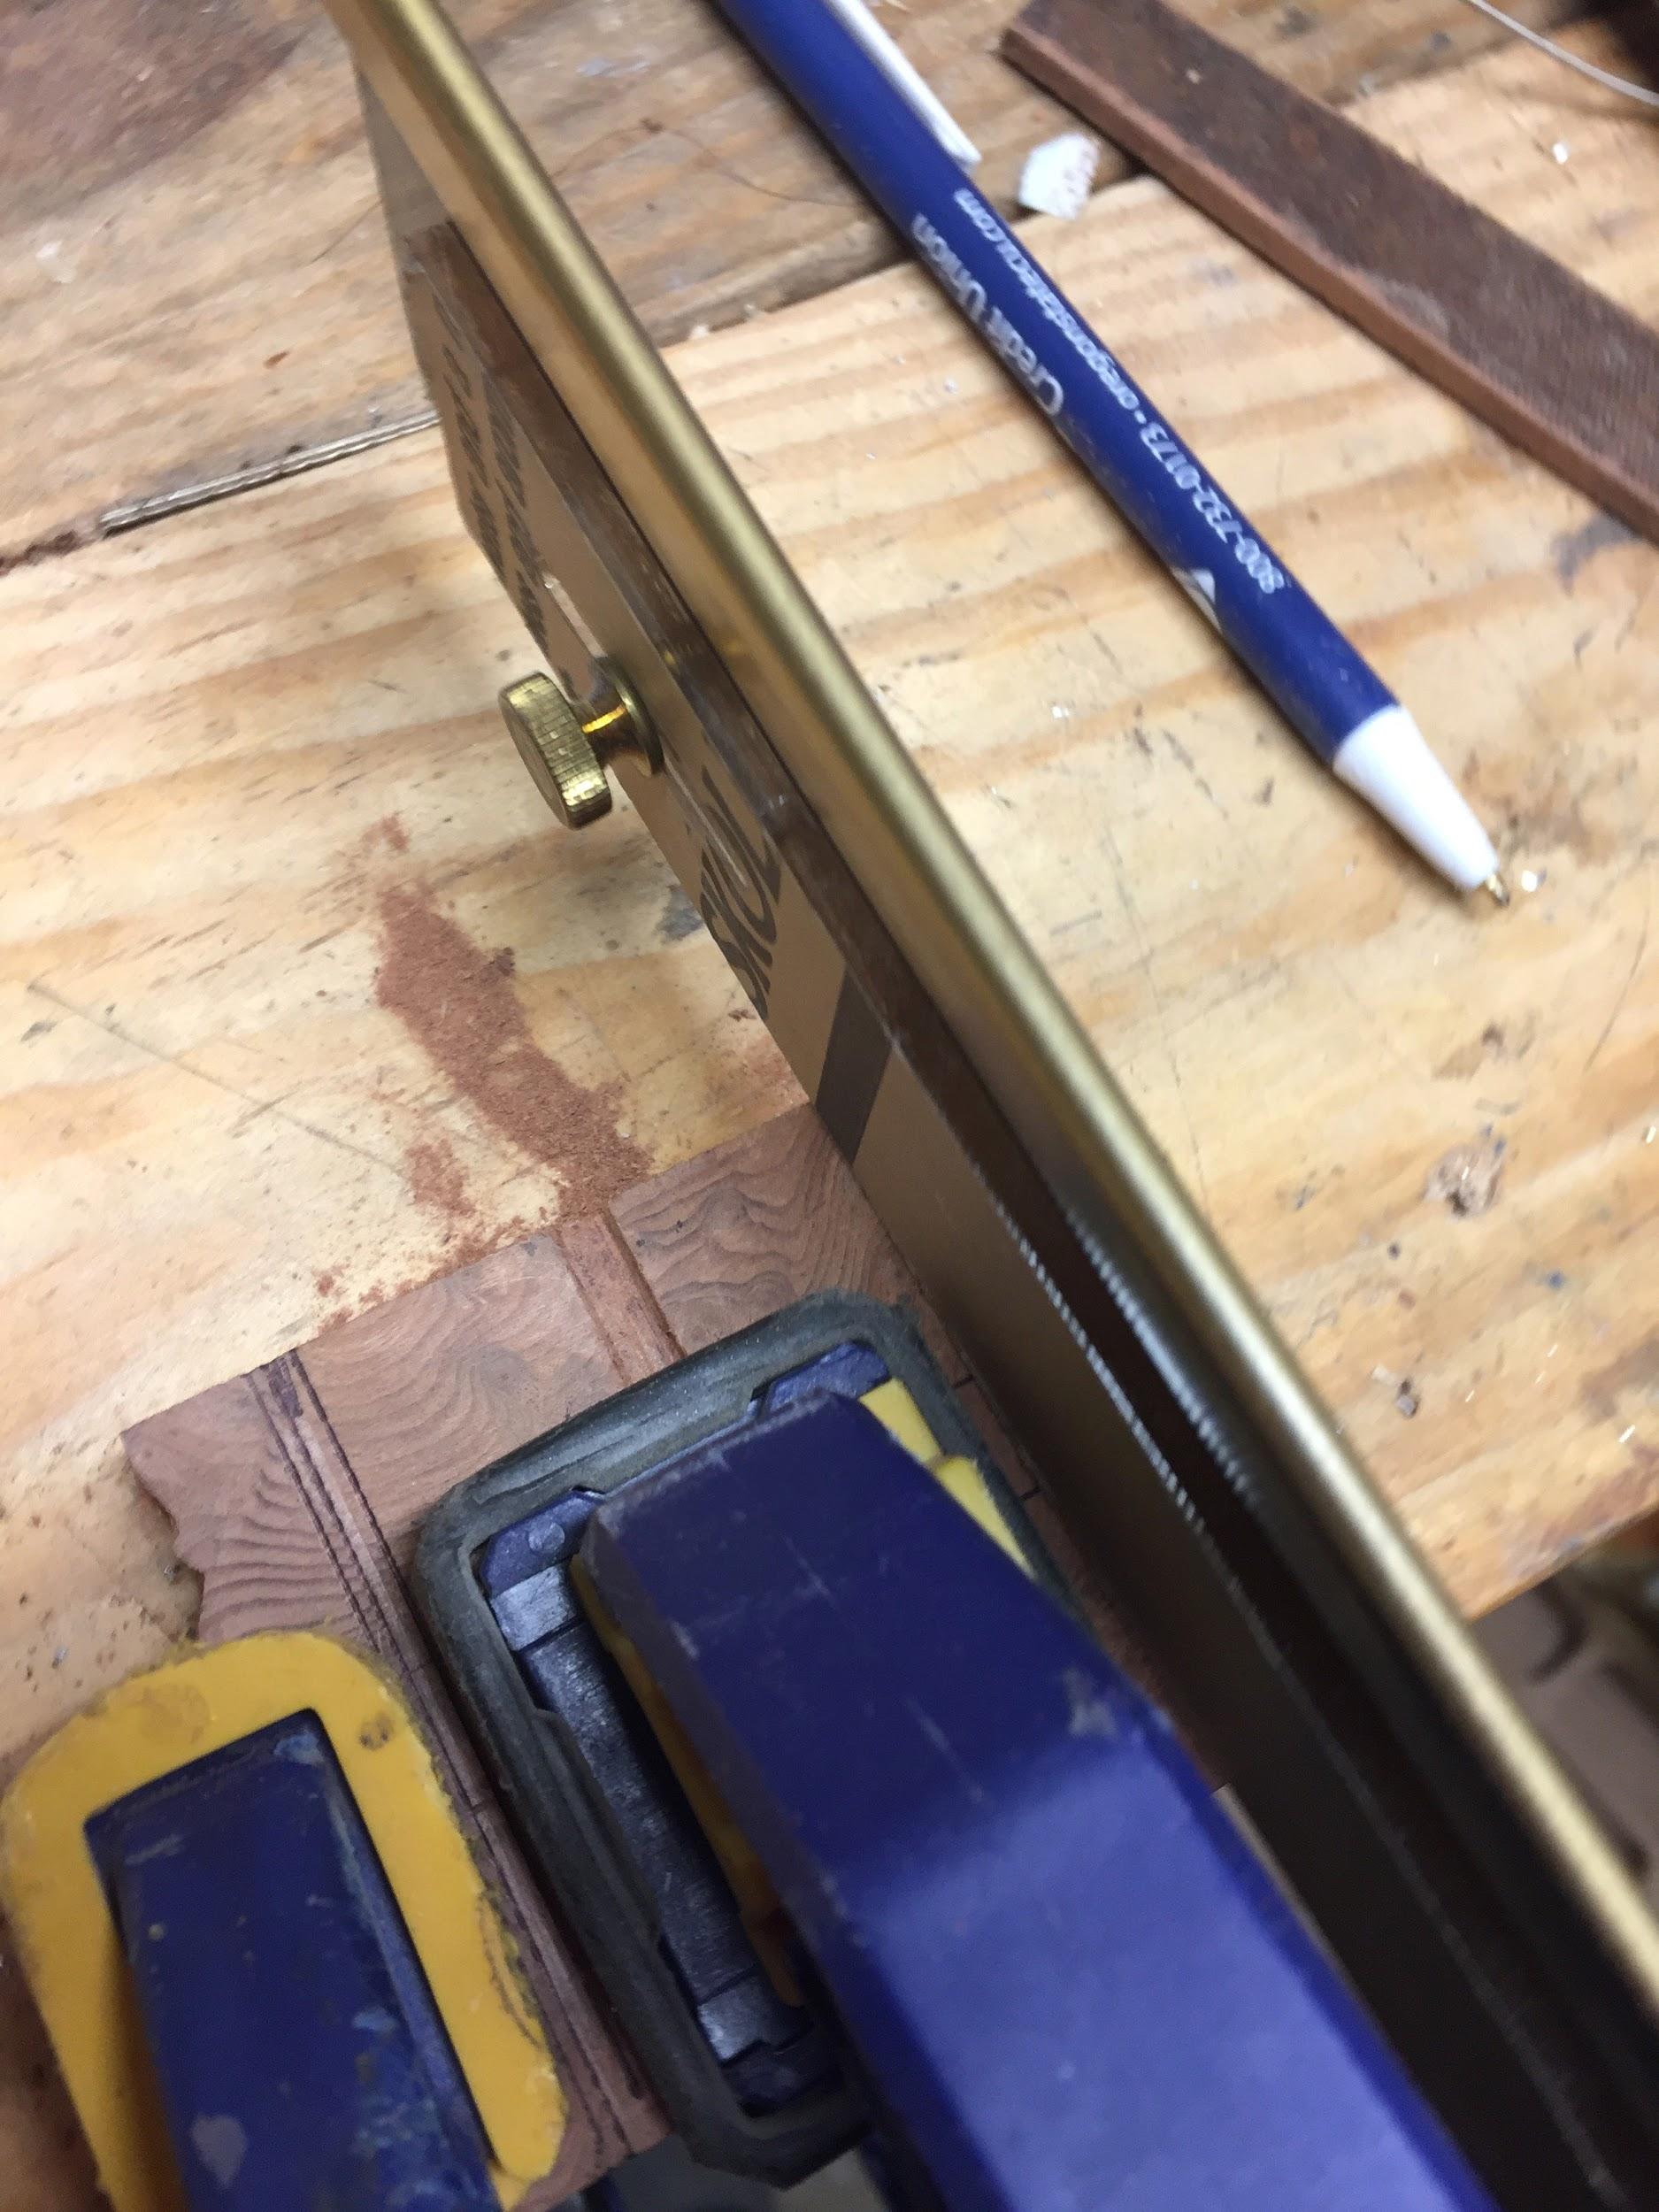
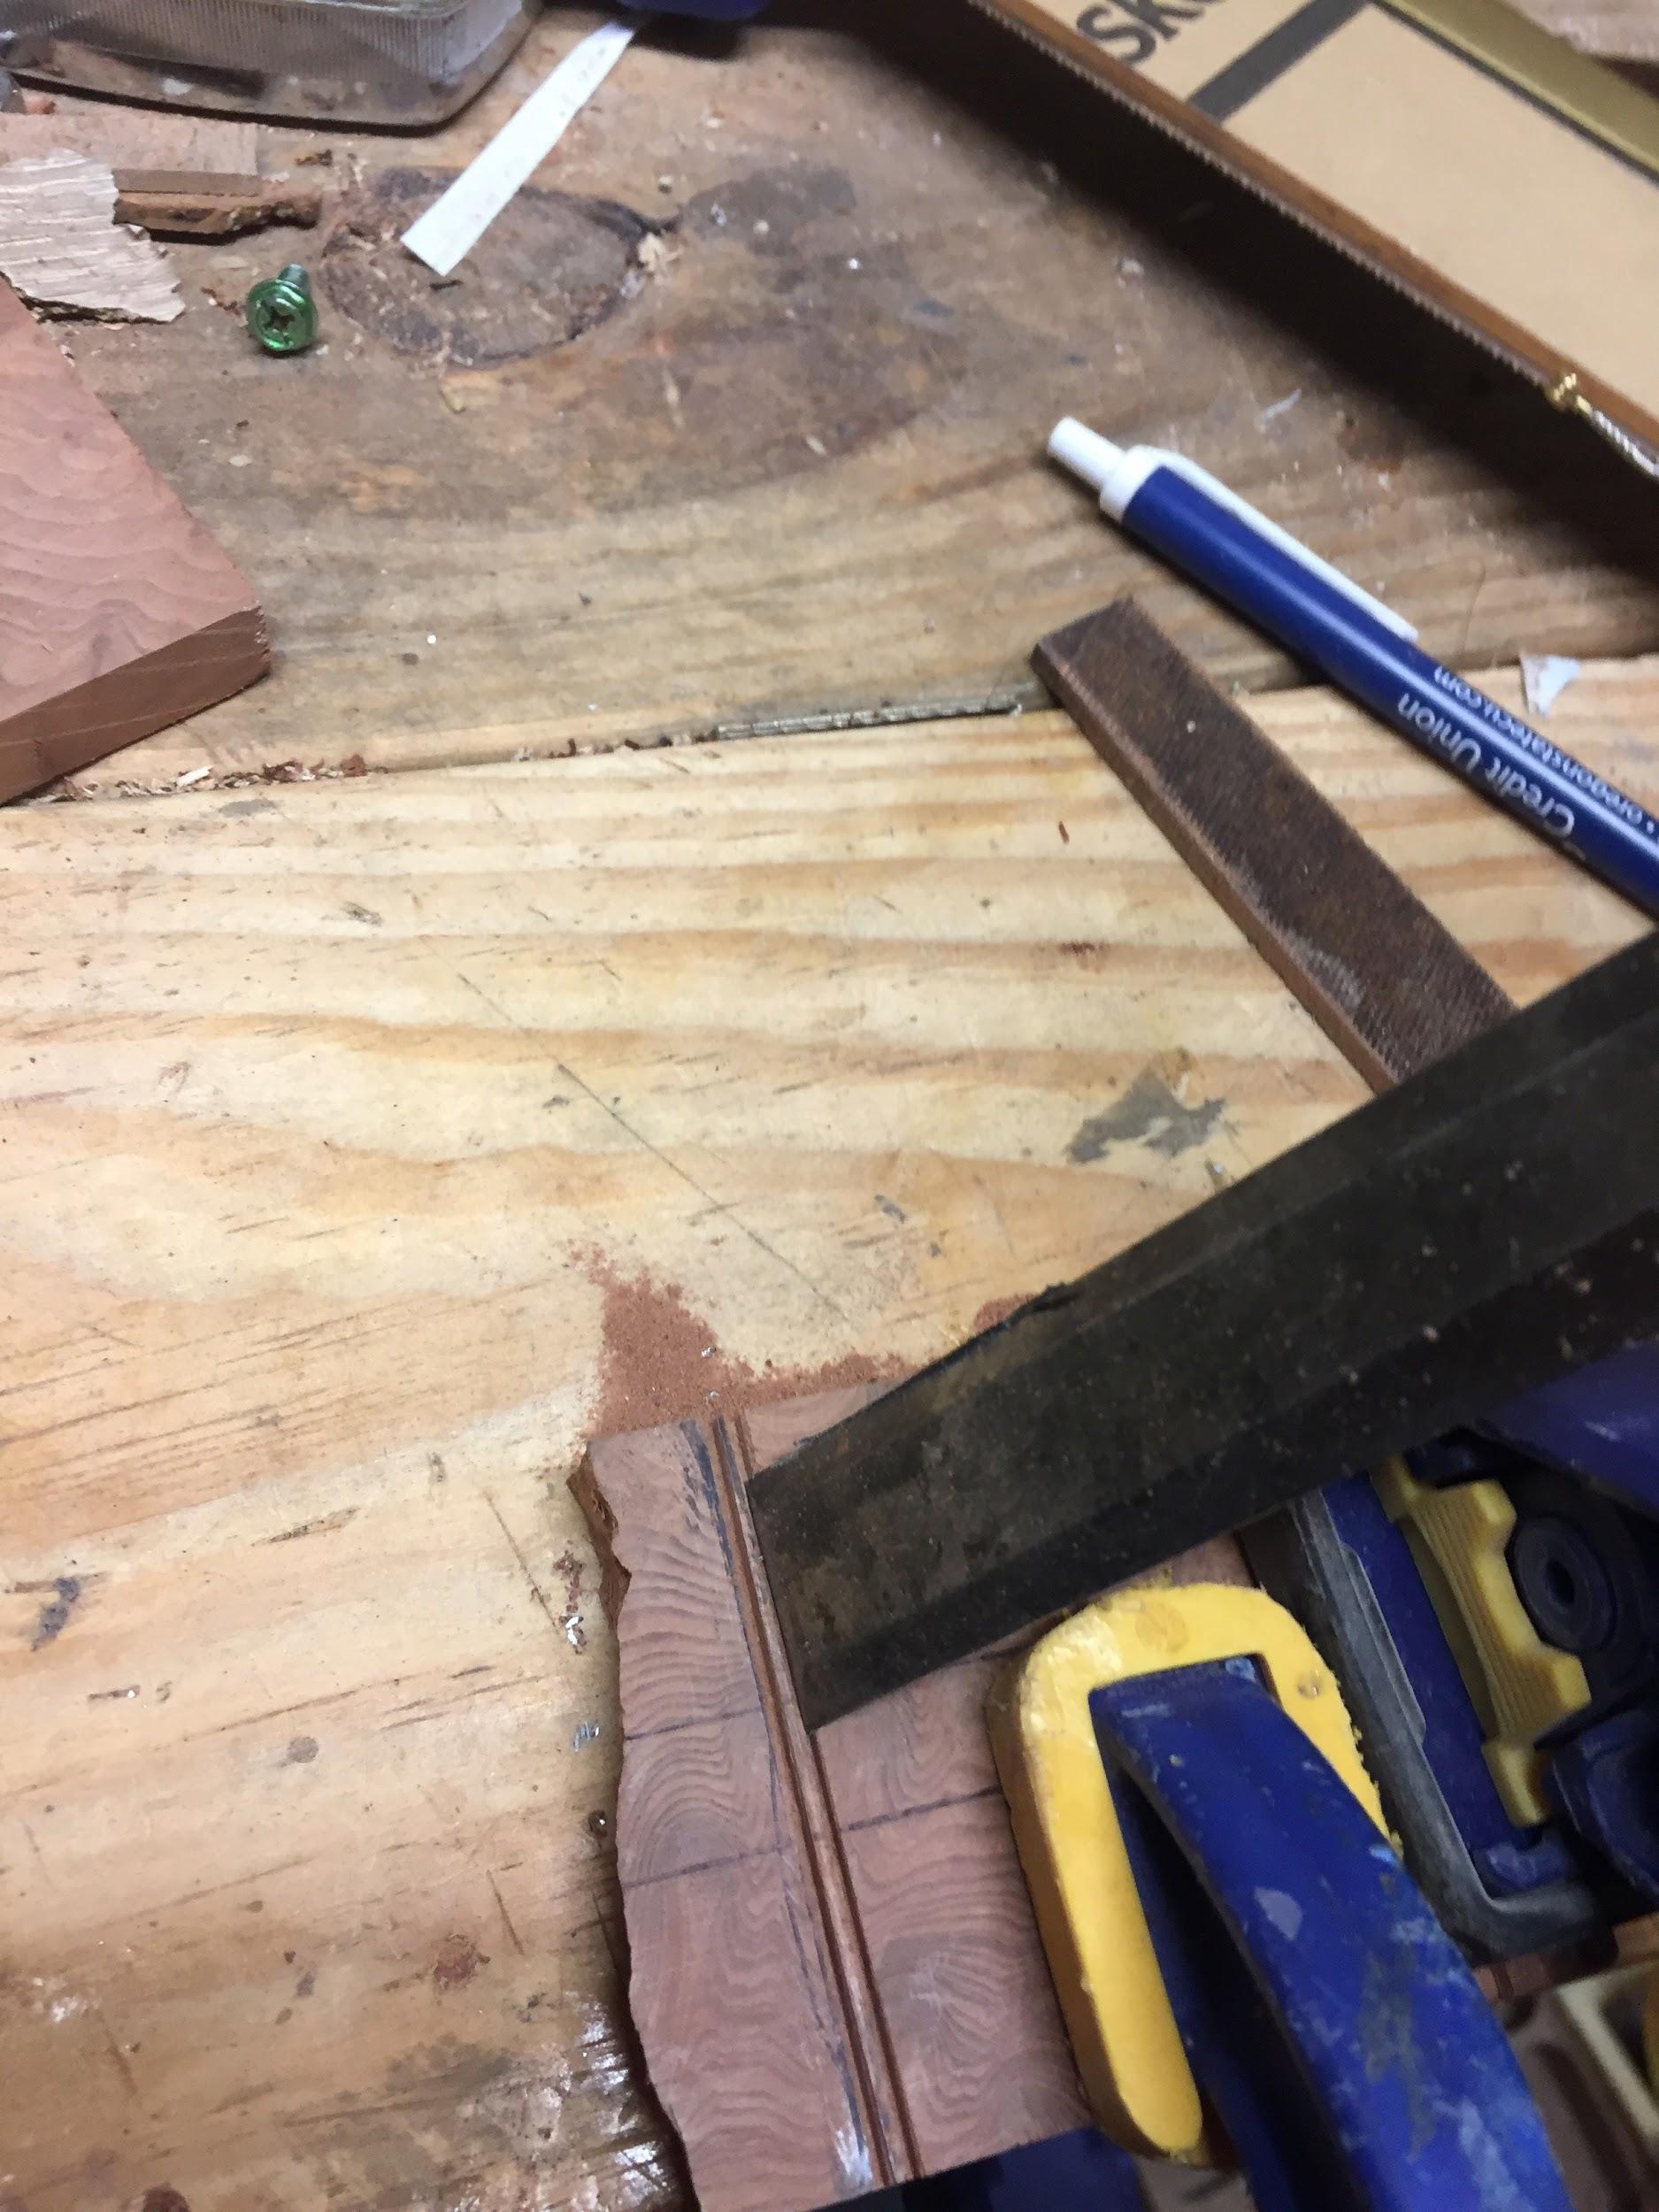
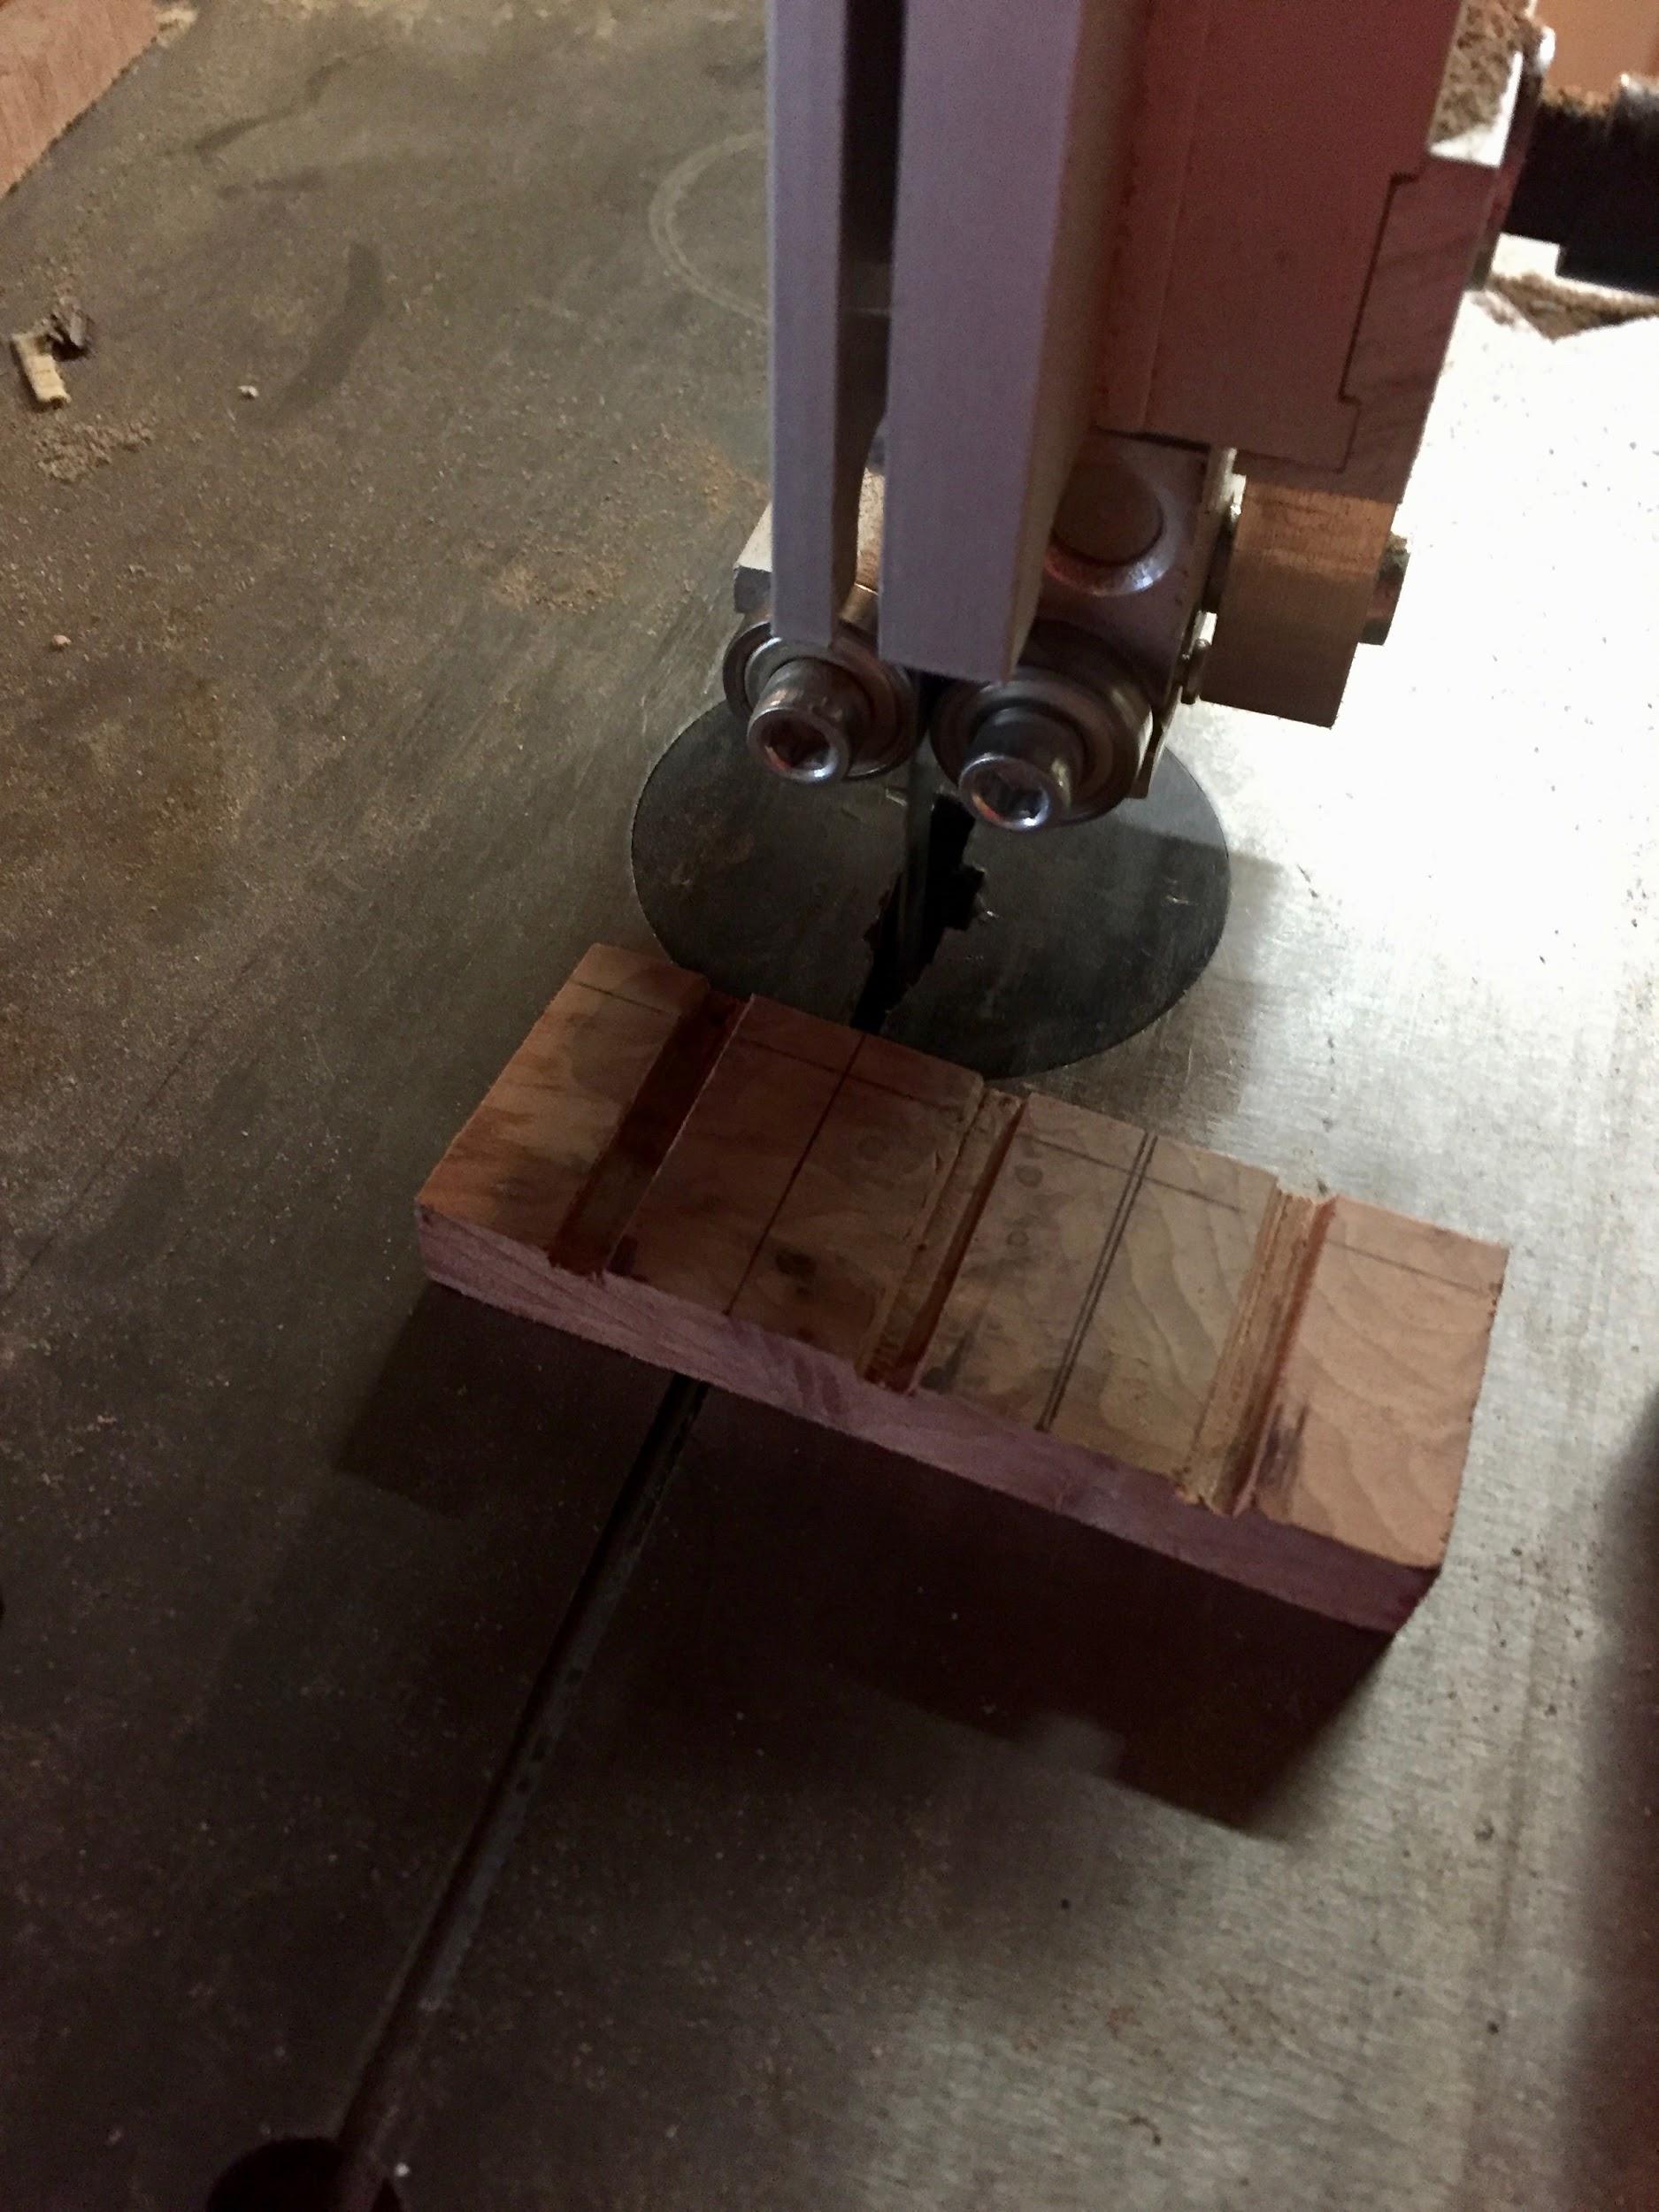
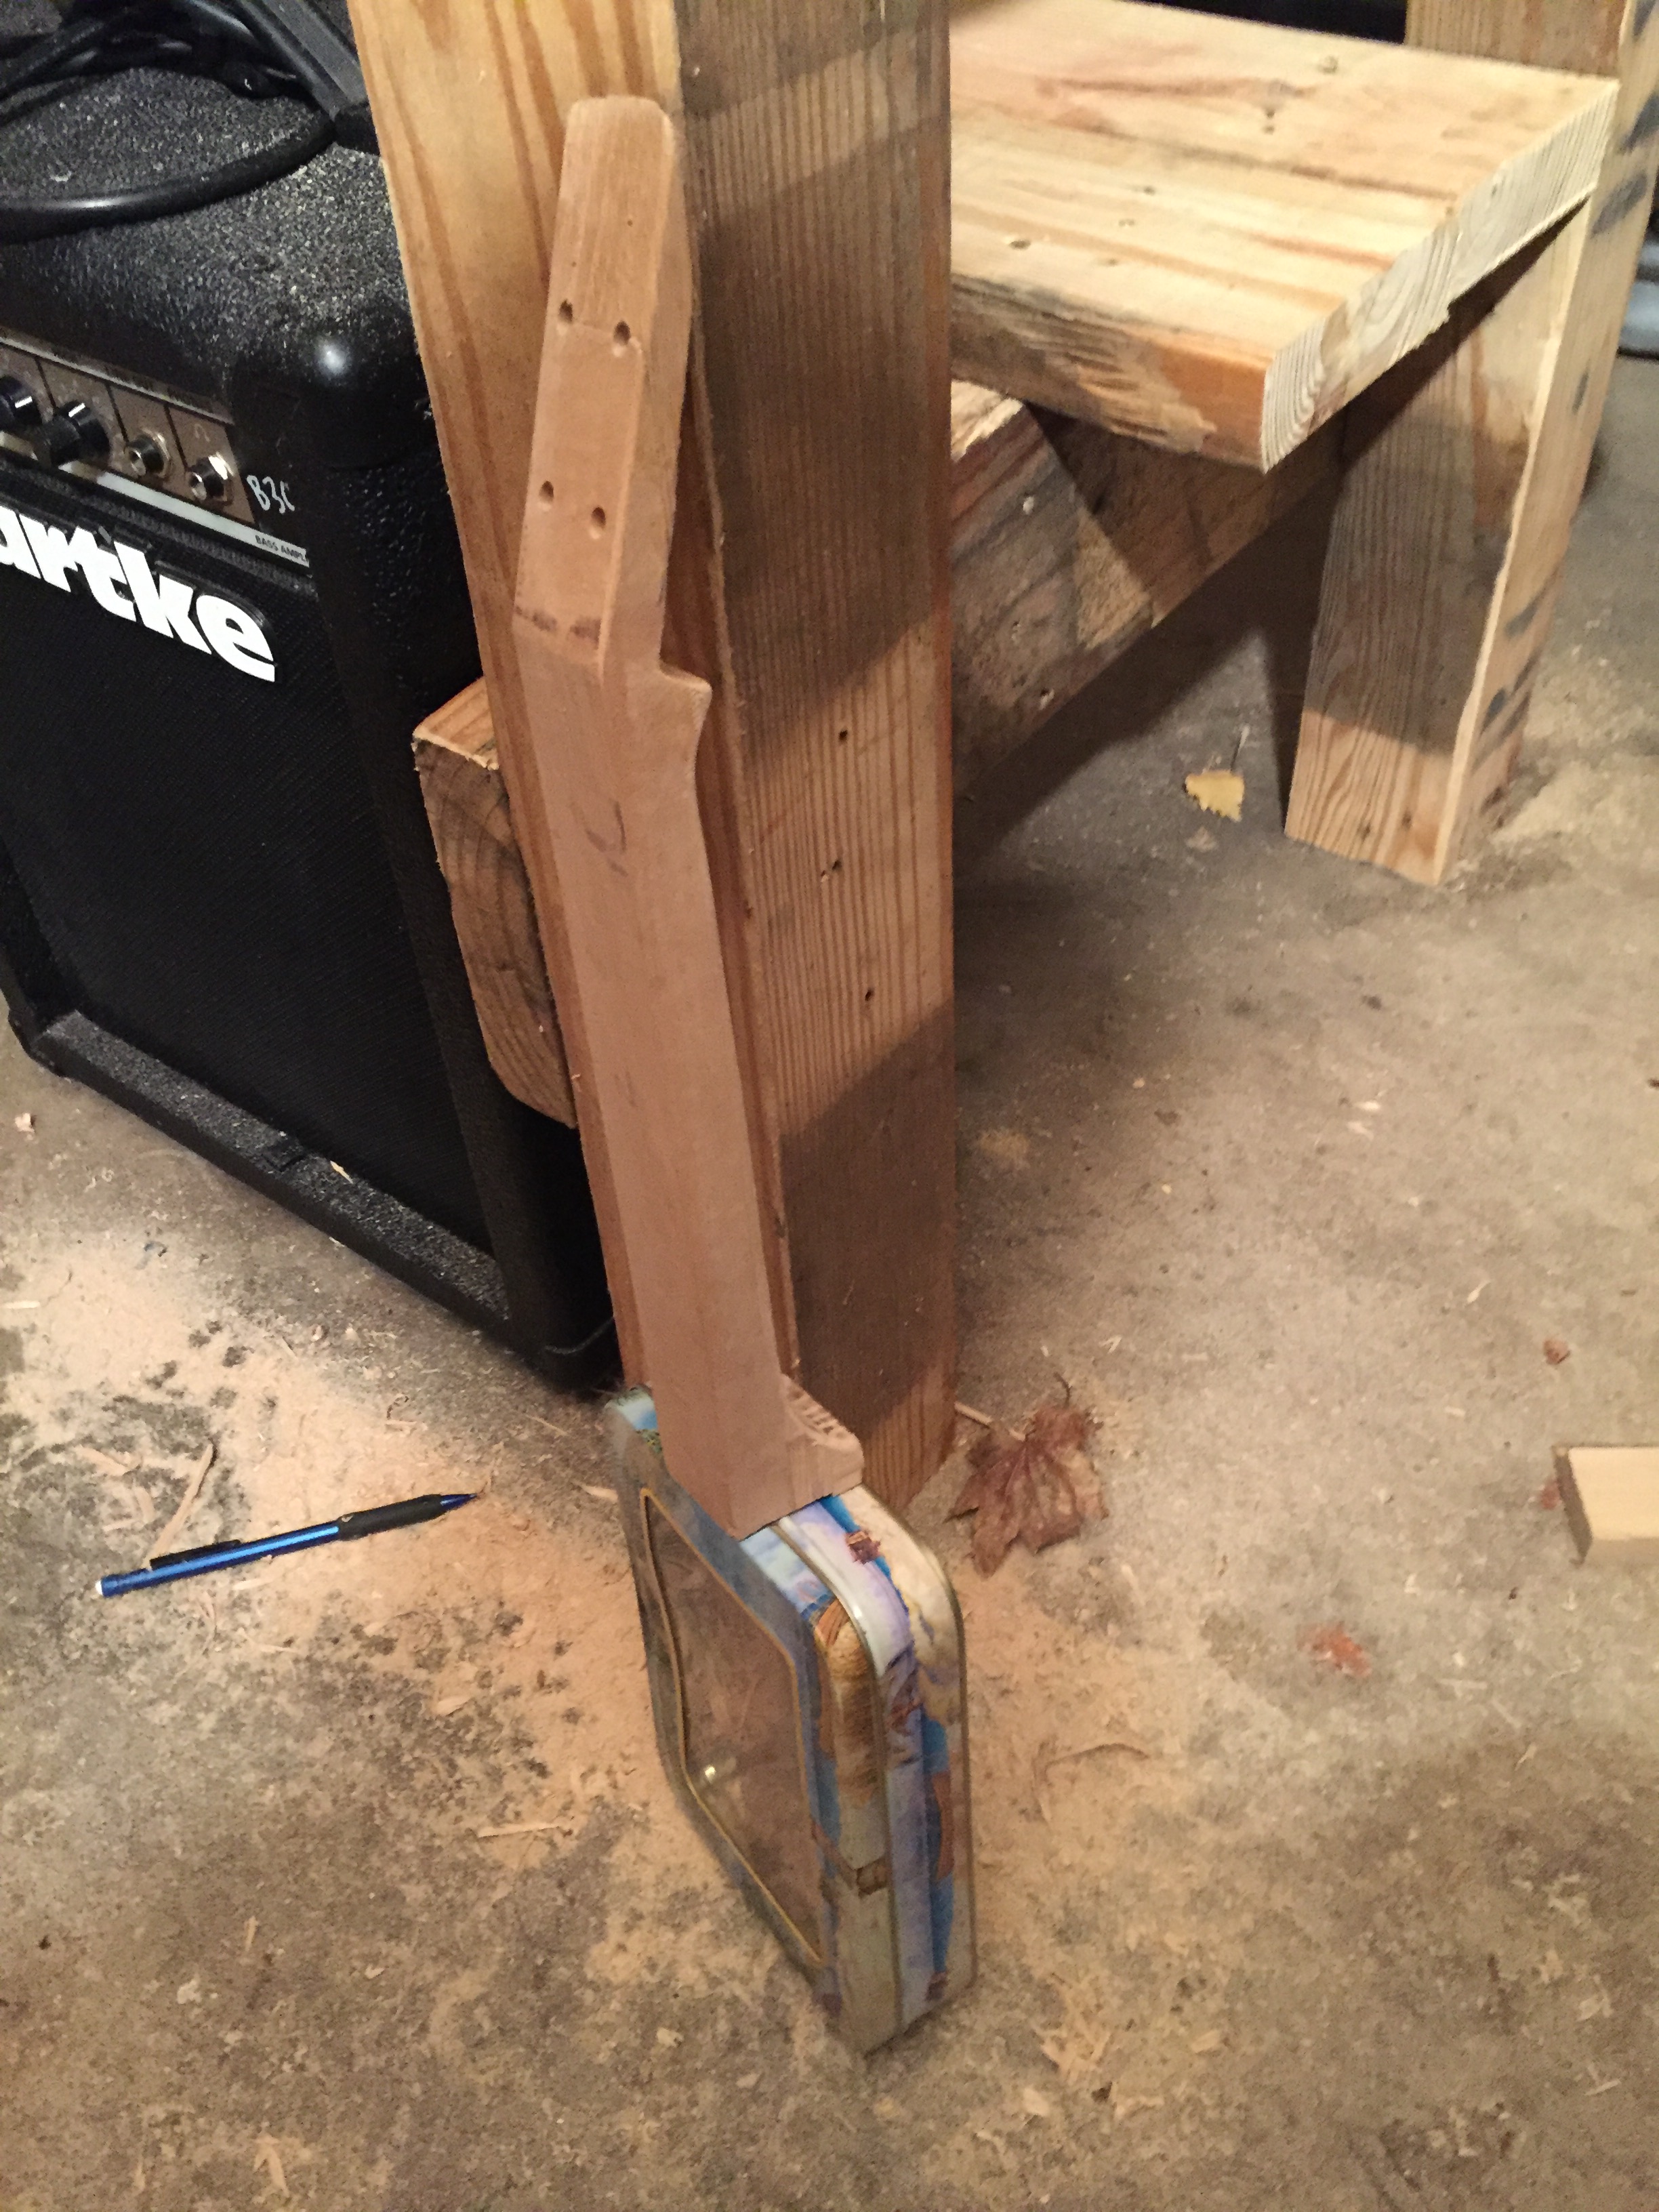
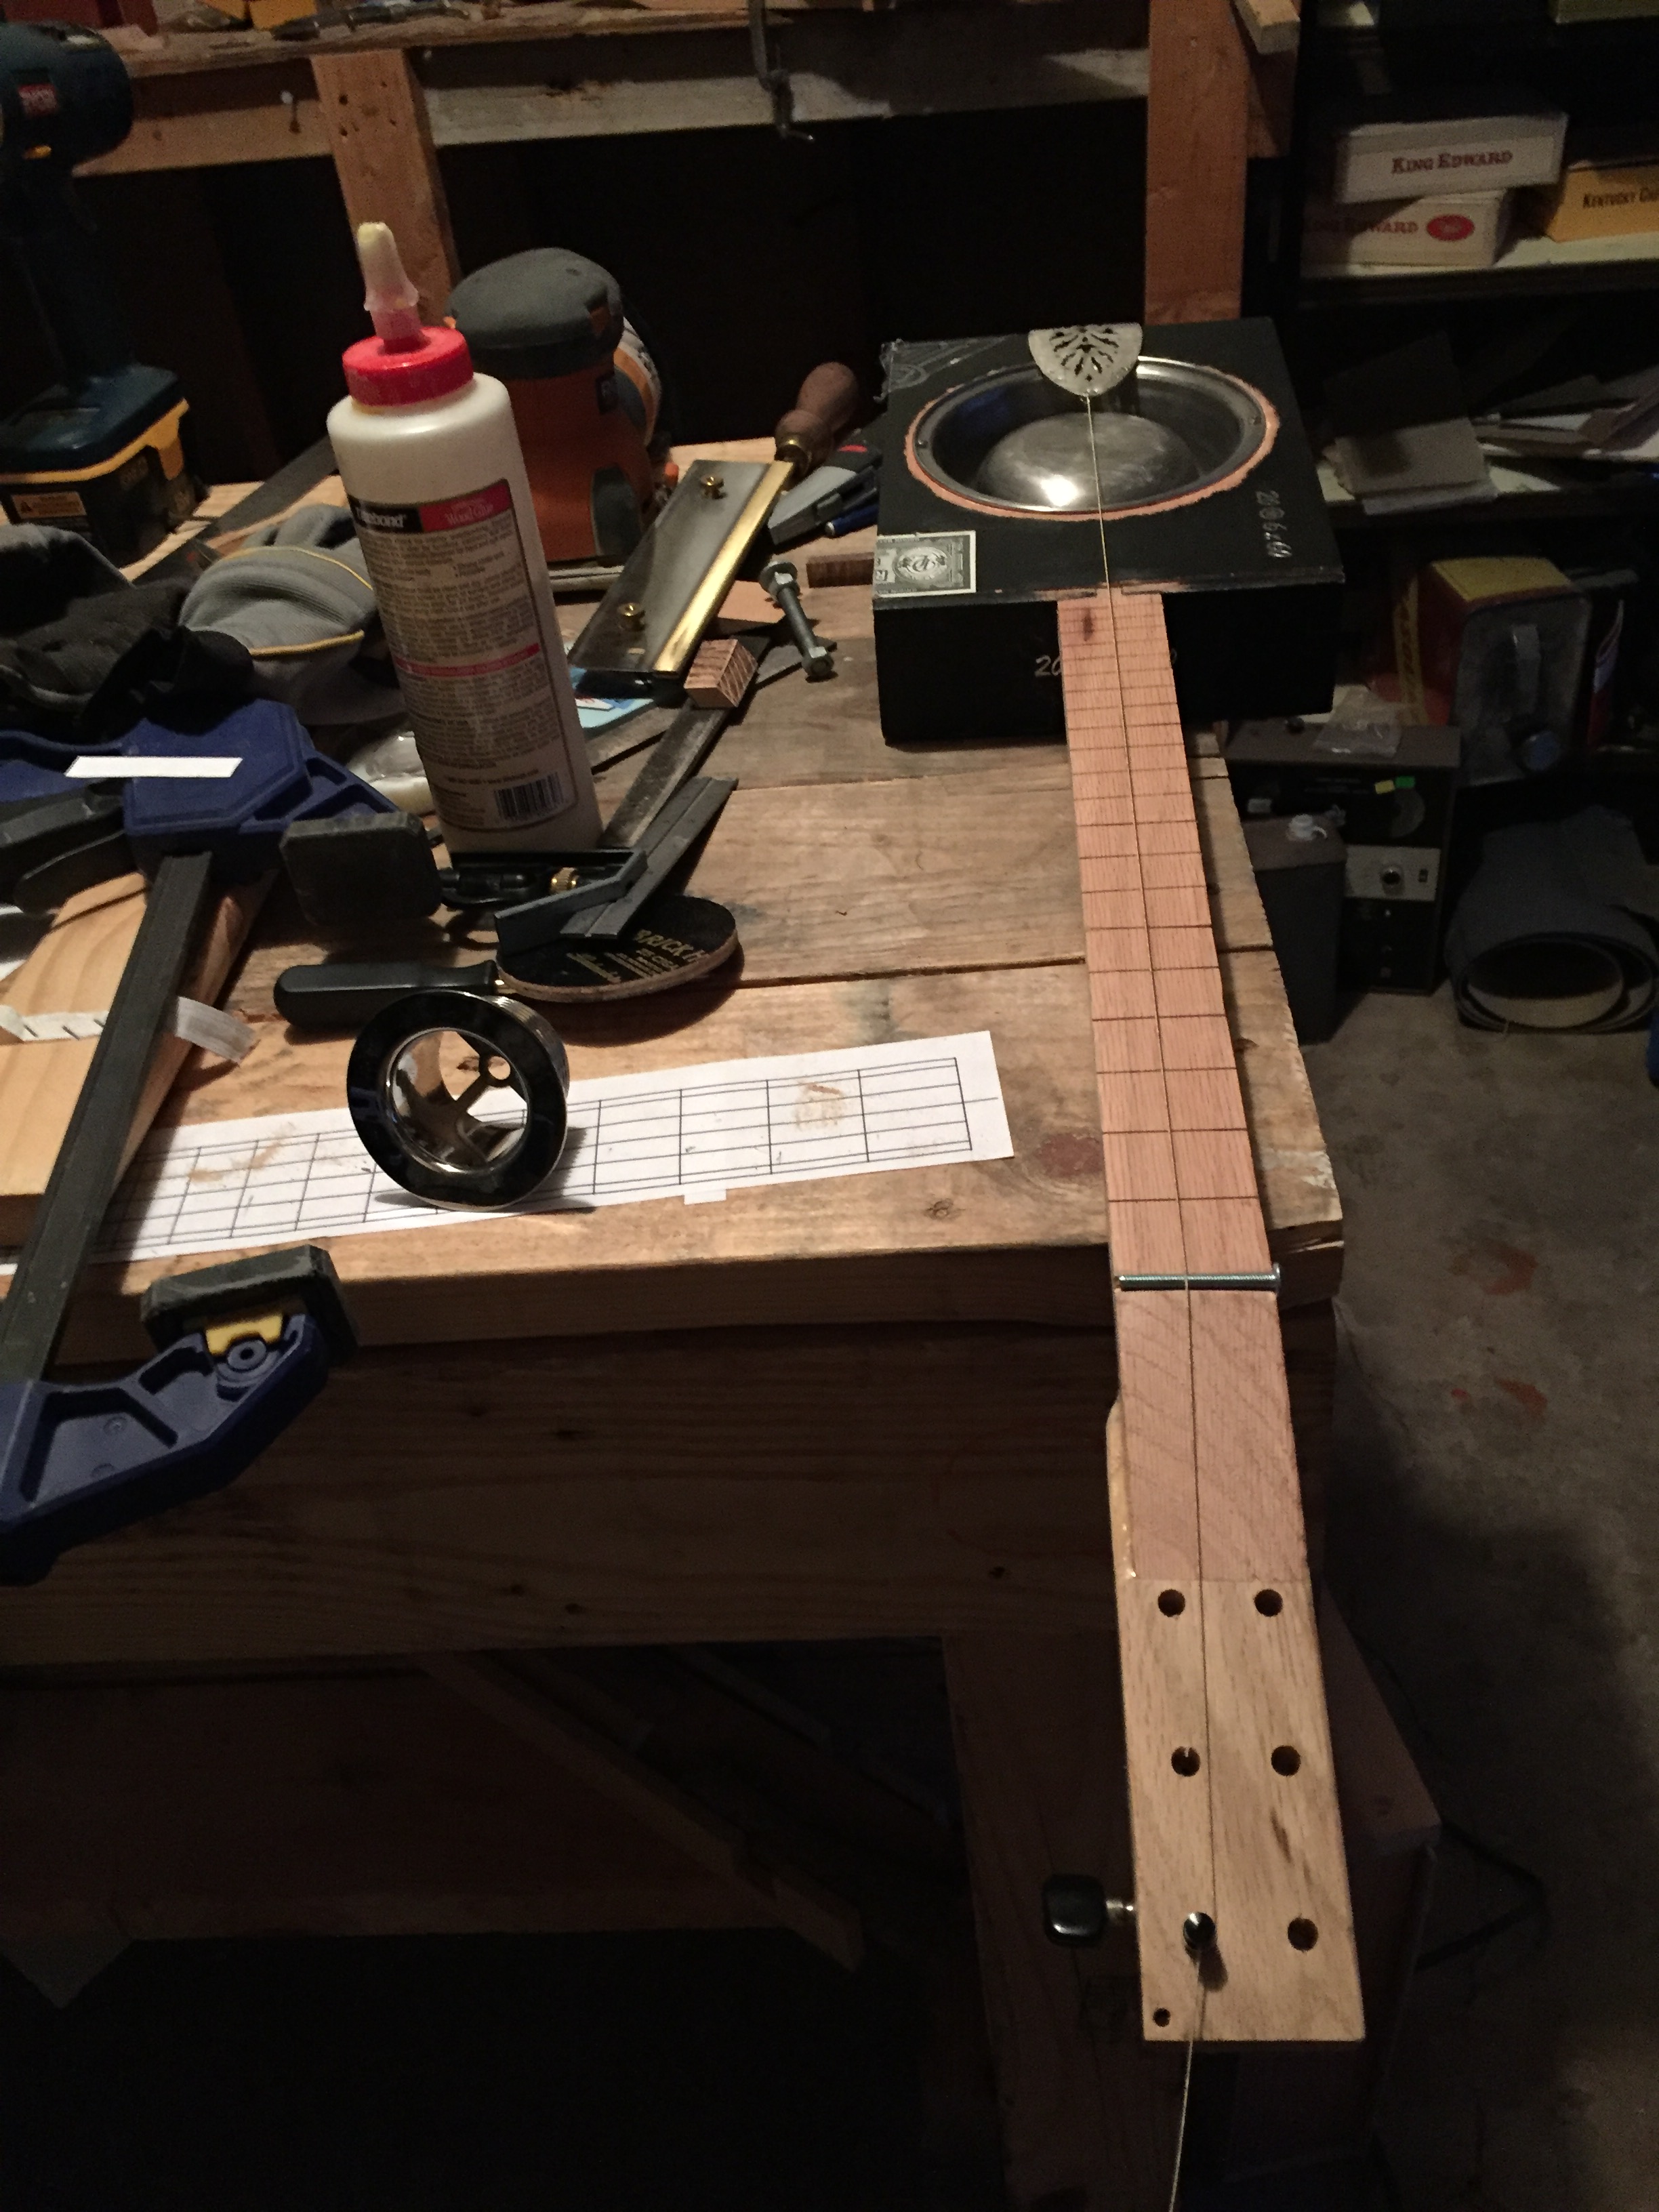
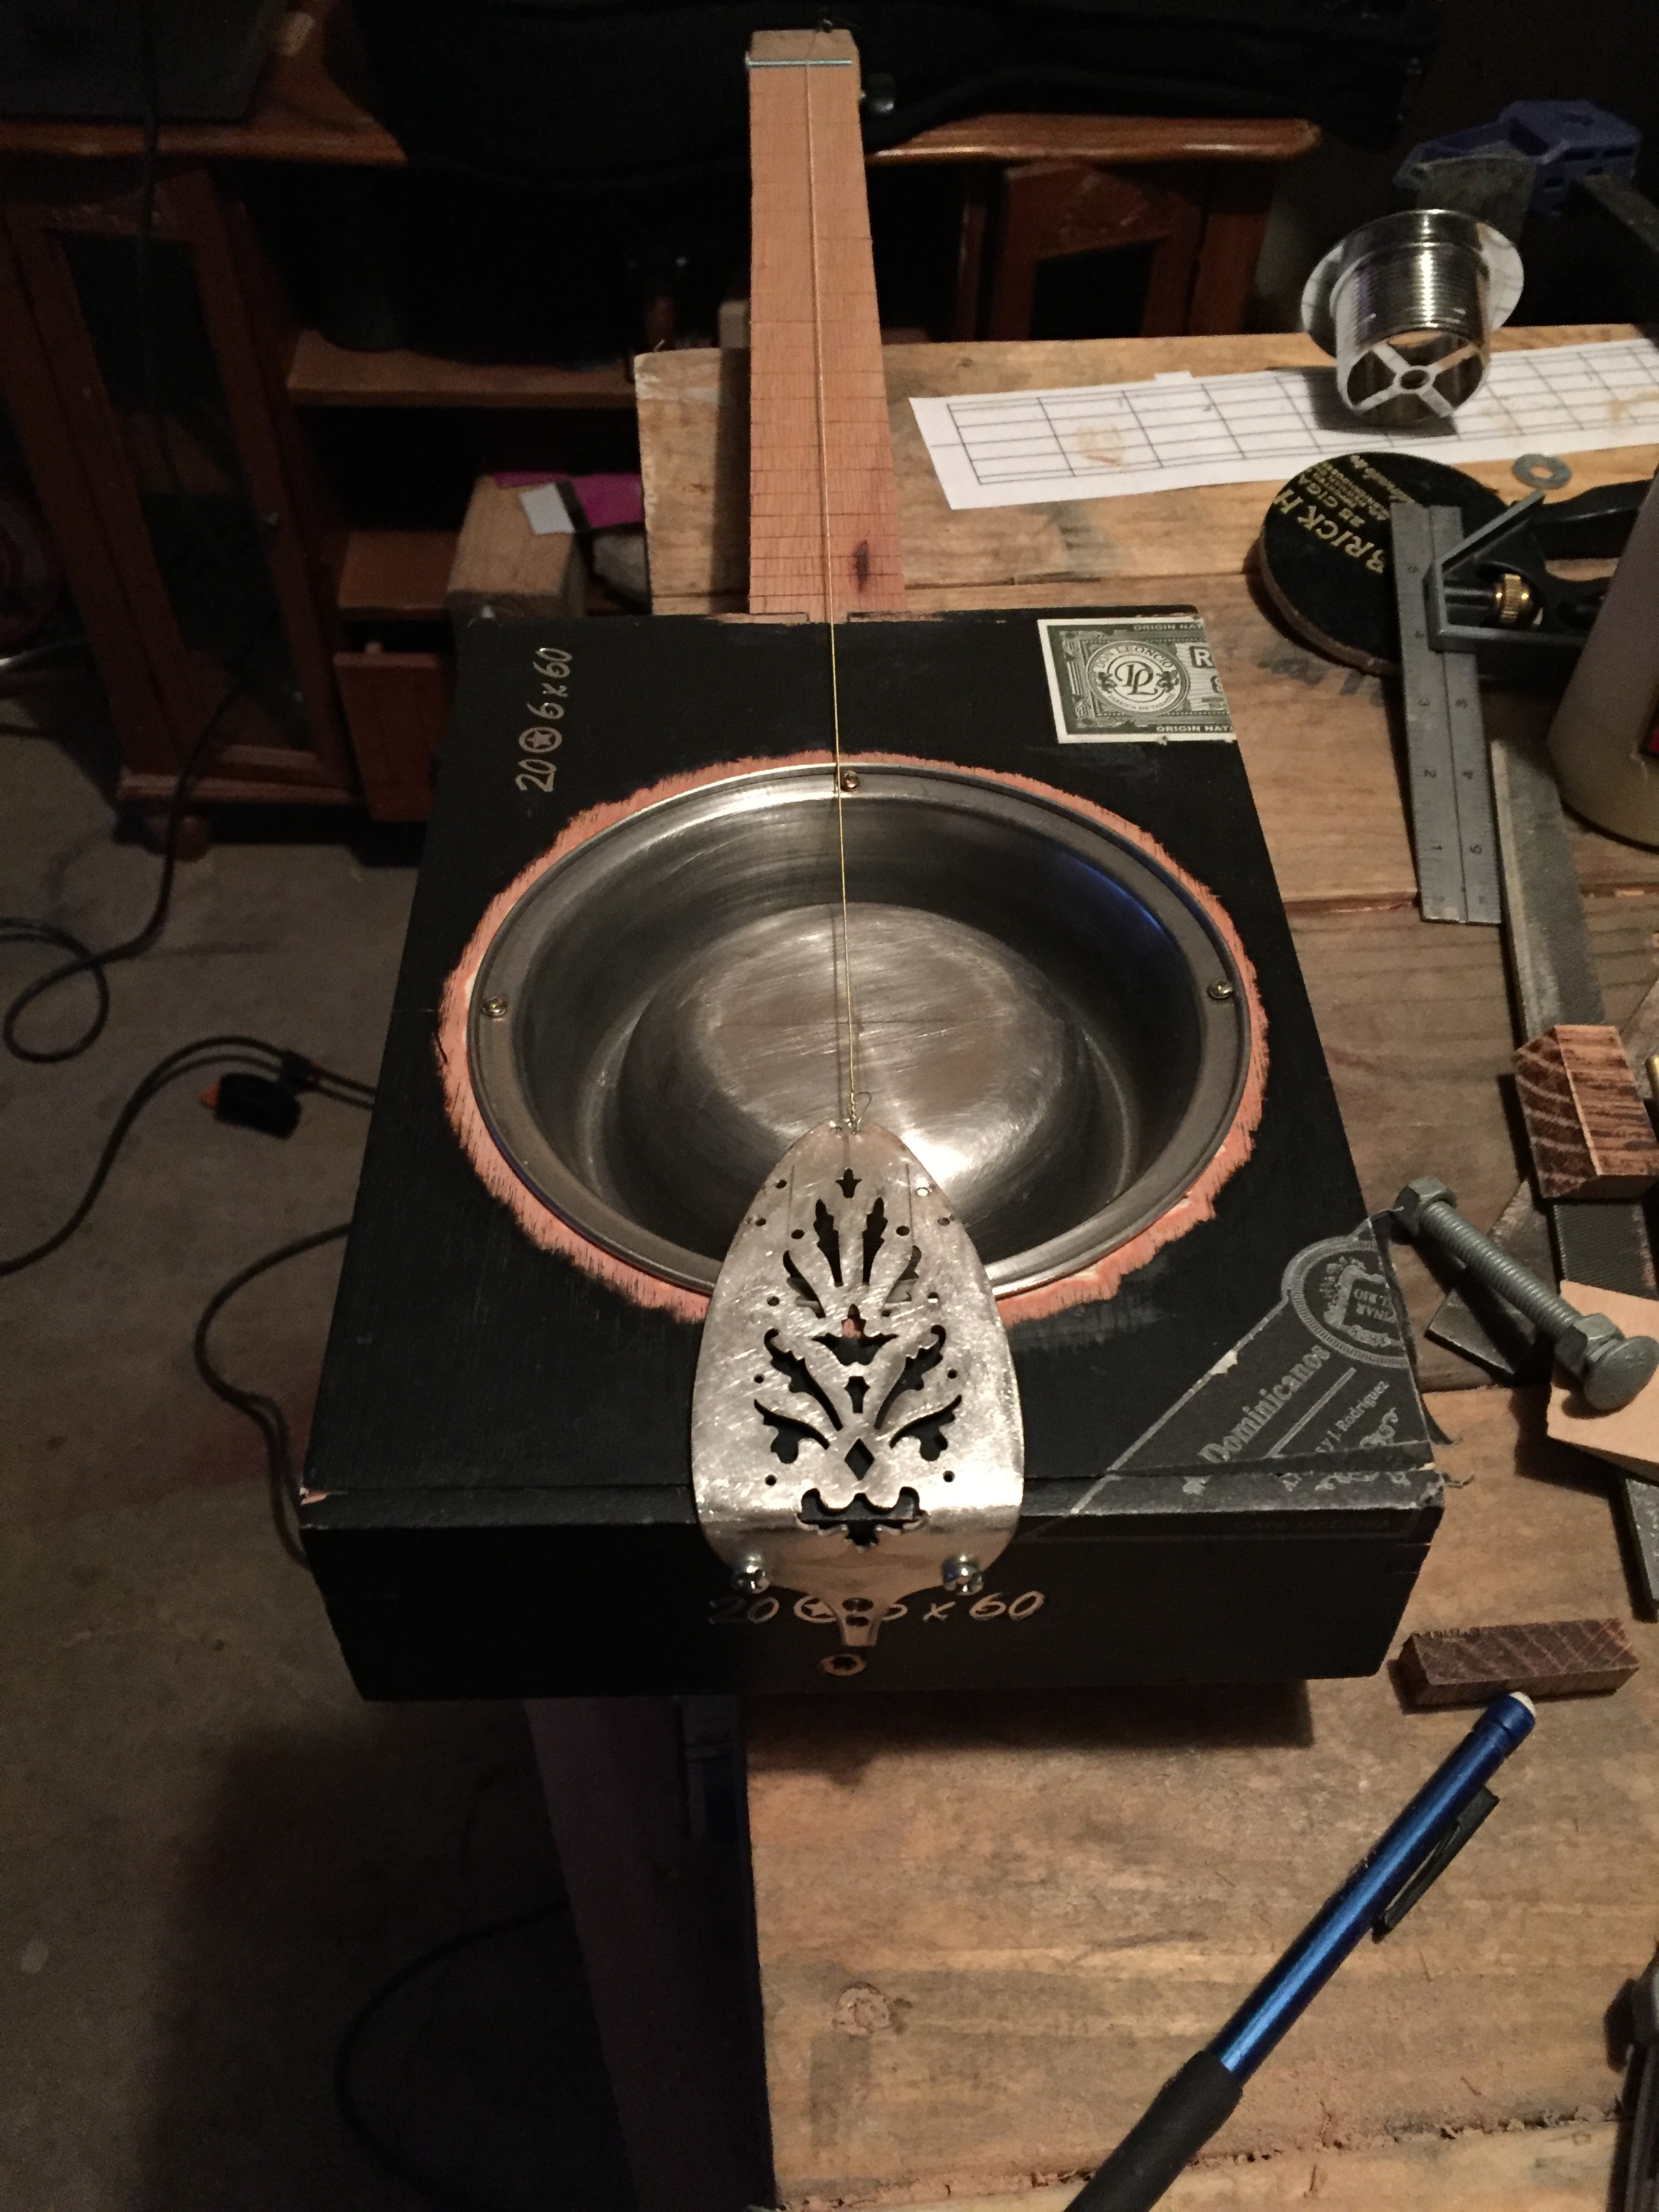
 My most recently completed build is the MacBook Pro Tenor. This guitar gave me a lot of grief in the building process. I started it way back in July and was planning on using an electric guitar neck with a broken headstock. I got all of the computer components removed, the aluminum keyboard panel cut out, JB Welded hardwood flooring inside, cut out and installed the single coil pickup, and cut the neck to fit the cavity I had left for it. I also spent a ton of time trying to fix up the headstock, and it wasn’t looking great, but I had finally gotten it to a workable place. I screwed the neck on for a test run and put on a single string…and the neck started bending in with the string as I brought it up to tune. The issue was pretty clearly that the body just wasn’t solid enough where the neck connected, So I decided to scrap that neck and build one myself that was just a little bit longer. Everything was going alright with that until I got to making the scarf joint for the headstock, where nothing was working and I ended up shaving too much off of the neck for what I wanted. I was also getting suspicious that this neck was going to bend just like the other one, and I was worried that the hardwood flooring wasn’t connected well enough. I decided to give it one more try, using a big oak trim board and not try to hide it all inside the computer body. The design is unusual, but man did it work. The neck is rock solid now. one of the fun things about this guitar is that the bridge/saddle and the nut are both made from the aluminum from the interior of the guitar. The bridge is part of the harness for the hard drive and the nut is from a section near the space bar. The fretboard is stained using steel wool and vinegar, and you can still see the nail holes in the neck from when it was used as a trim board (they are filled with superglue to preserve them and prevent any irregularity). I really enjoy playing this guitar, I have never felt comfortable on 6 strings, so this lets me play guitar without the stress of all those extra strings :).
 I have also made a few little radio amps recently that I think are pretty cool. They are a bit noisy, but the look good and get the job done.
 On the bench now I have a mandolin, a 6 string electric, another bazouki, and a speaker cone resonator. Hopefully I’ll get to share them with you before another year passes!


 I recently picked up a set of geared banjo tuning machines with broken buttons for $15. These tuning machines usually cost about $100 for a set, so I felt pretty chuffed about getting them at such a low price.


 The pickups also turned
 The tuning machines on this one are nicer than the ones that I have used previously, so I keep having to remind myself that the string is still attached when the knob feels like there is no resistance. I took the machines off of a DIY guitar that I bought at


